A couple of weeks ago, a friend let the boys and I come and forage elderberries on her property. She had planted a couple of varieties of small elderberry bushes last year, and this year, they had taken off and doubled in size. Since she had already collected all the berries she wanted for her elderberry jelly, she said we were free to take whatever we wanted. When we got there, I was amazed at how many purplish-black berries were there just waiting to be picked or eaten by the birds. I only wanted to collect enough berries to make a batch of elderberry syrup and dry a quart or so for the year, so we didn’t take much. Plus, there were plenty of green to red berries still on the bushes when we left—enough for 2-3 more harvests!
Now, I rarely forage elderberries. Normally, I buy them from Mountain Rose Herbs because it’s quicker and easier. However, as I continue to align my life with seasonal living practices, I find that my practice of herbalism has begun to align with the seasons as well. That means I’m finding myself growing more of the plants I use most frequently, using more of what is available to me in my local area, and wildcrafting and preparing as much as I can on my own. Sure it takes a bit more time, but it’s worth it. Plus, it just feels right, deep in my soul.
Living seasonally and practicing seasonal herbalism has also helped me to feel more connected to God as I’m constantly looking for and relying on the gifts He provides throughout each season. I suppose it makes me more aware of the blessings He has given to us on the earth. It also helps me to see how beautifully He has designed us humans and this world, especially in regard to how our minds and bodies sync up with seasons and cycles, and it just makes me grateful.
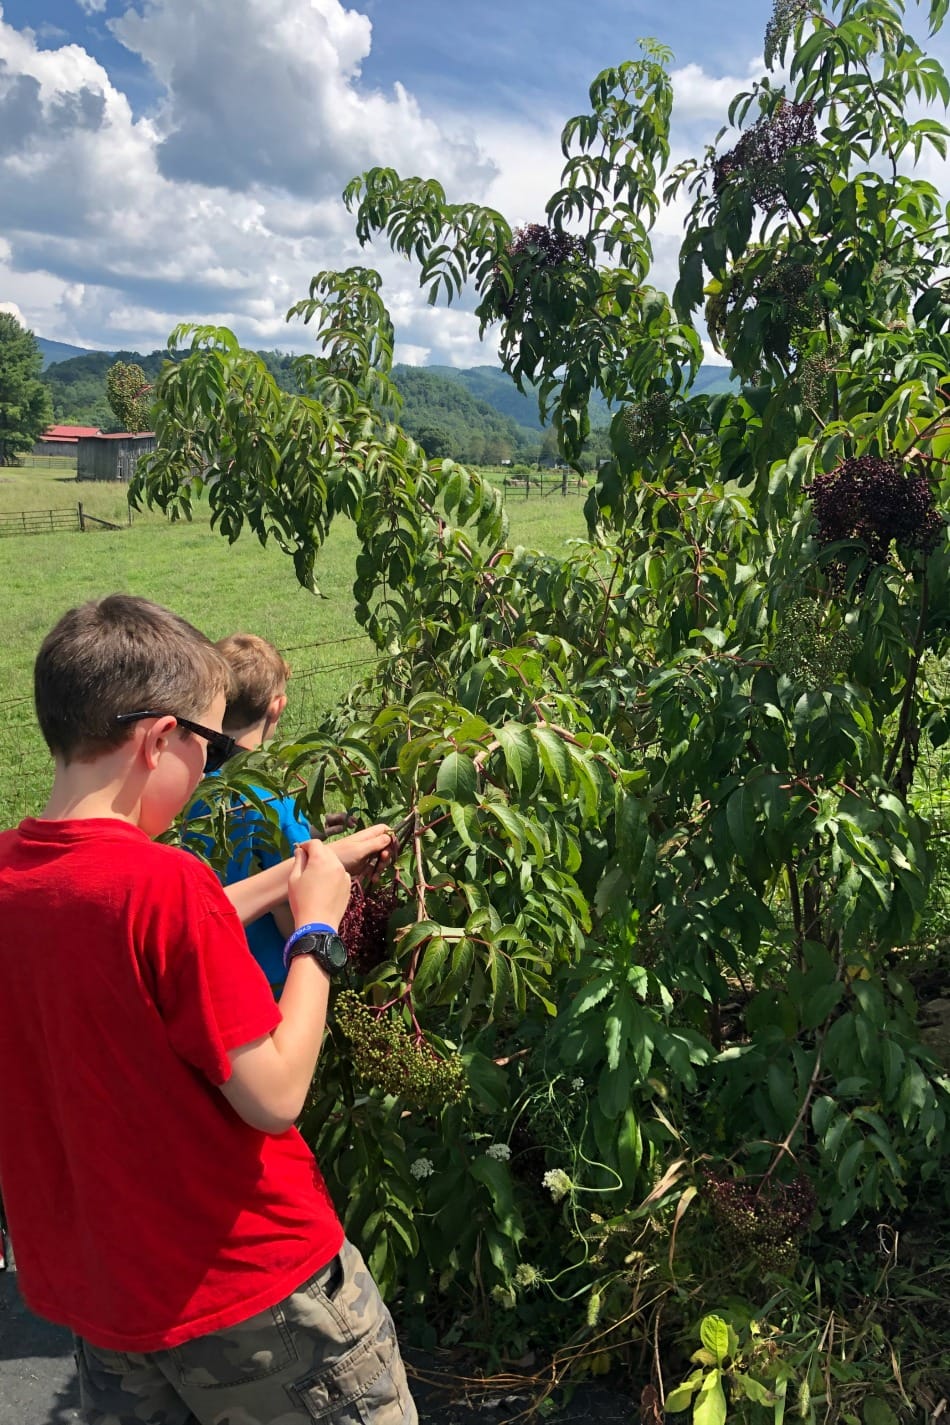
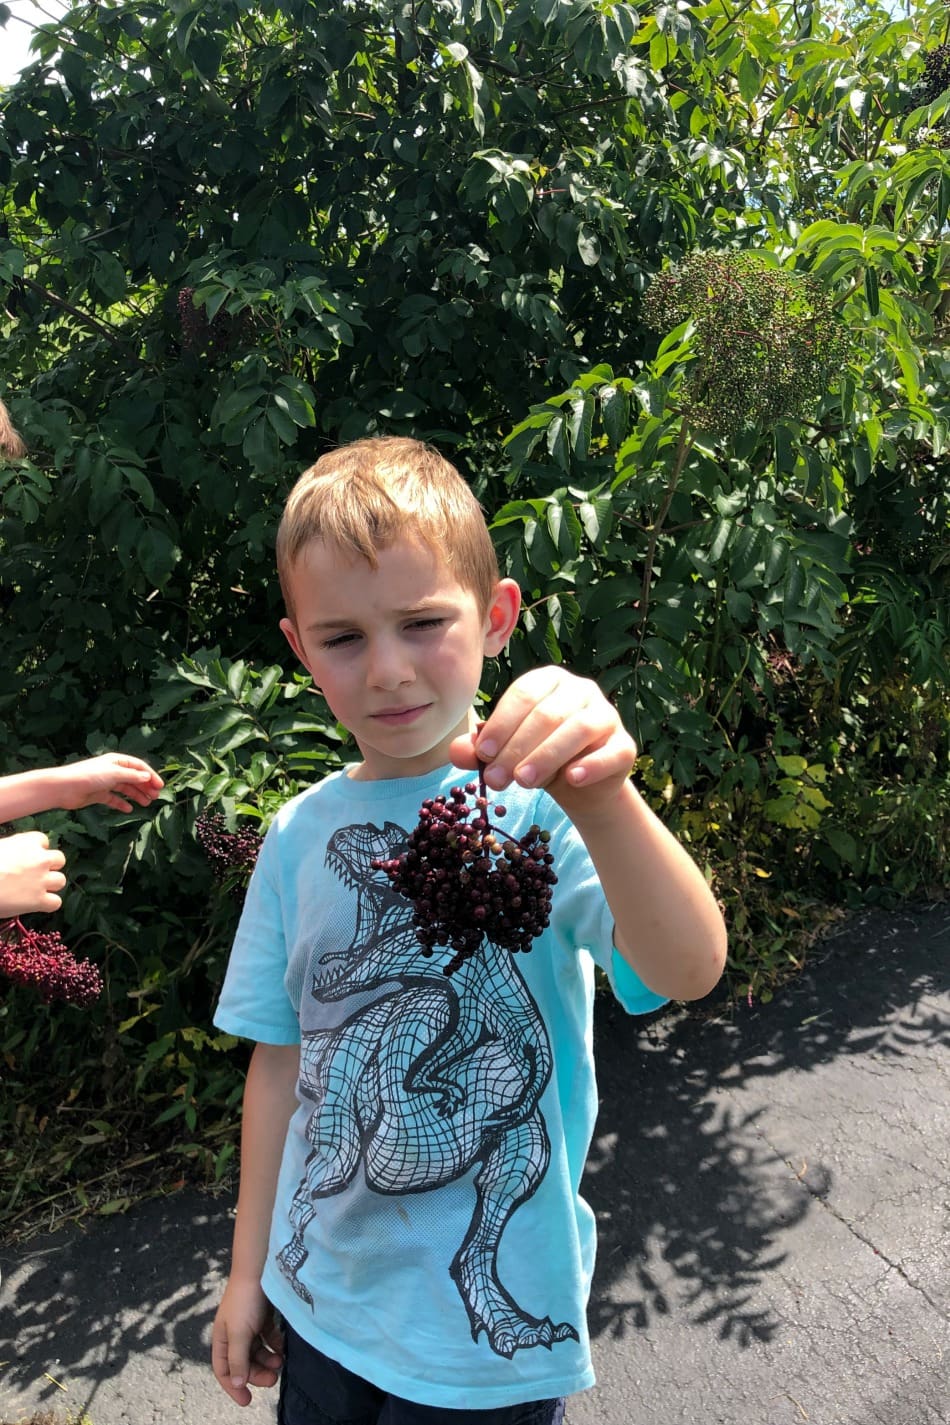
If you are interested in foraging elderberries growing in your local area, good for you! My first tip would be to learn how to properly identify elder. You can use a reginonal field guide or an online herbarium to help you find out the physical characteristics of the elder plant. There are also many educational blogs that have material medica articles on elderberry which include identification information alongside plant photos. If you think you have found an elder bush in your area but aren’t certain, there are some plant identification groups on Facebook as well as some smartphone apps that can help identify a plant from a photo. My favorite way to learn how to identify plants, though, is by going on a plant walk with a local herbalist. That way you get in-person information and hands-on experience in addition to asking them questions and take notes and photos of the plants you find.
The next foraging tip I want to share is, don’t be greedy! Leave some berries for the birds. Not only does this feed them, but they’ll poop out the seeds which means more elder plants next year. As a general rule, you only want to collect about 1/4 to 1/3 of what you find when foraging. When it comes to elderberries, though, you can gather closer to 1/3 of the berries that are ripe on the bush and come back later for second and third harvests as long as elder is plentiful in your area. If not, it’s best to take a smaller amount, and over the next few years, hopefully, the elder population will increase in your area! You can learn more about foraging and wildcrafting herbs in this post here.
Once we had collected our elderberries, we took them home to process them for use and storage.
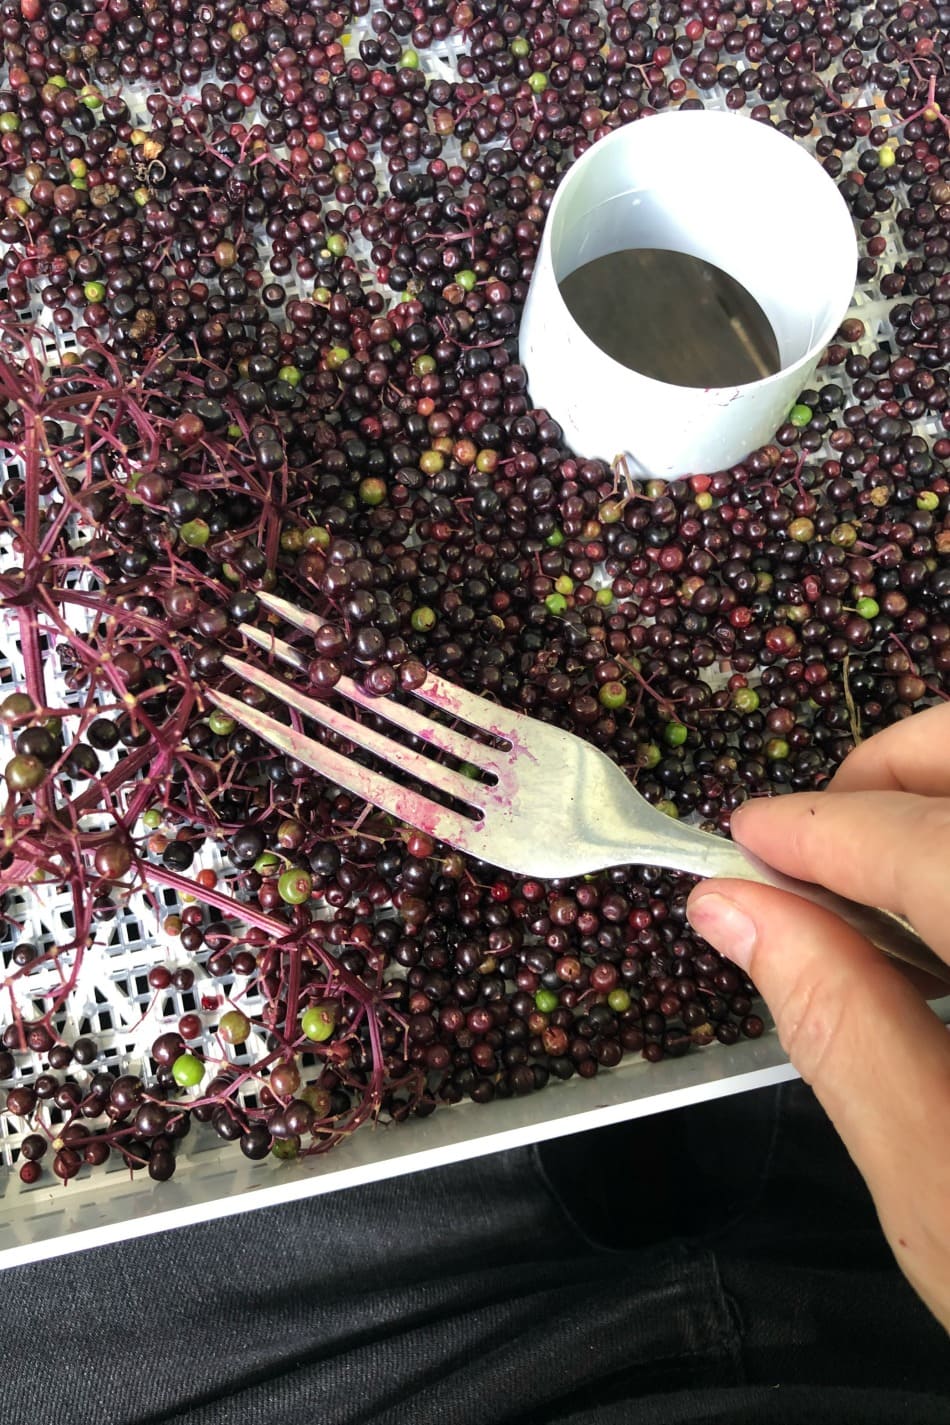
The fastest way I know to garble elderberries is to use a fork and basically comb the berries from their stems. Sure you will get some small pieces of stem in your mix, but I don’t find this anything to worry about. Yes, elder stems, especially the larger sized ones, will make you vomit if ingested. However, the small amount of tiney stems that come off of the umble during garbling is not enough to bring this action on. You also don’t need to worry about the occasional green berry mixing with the others.
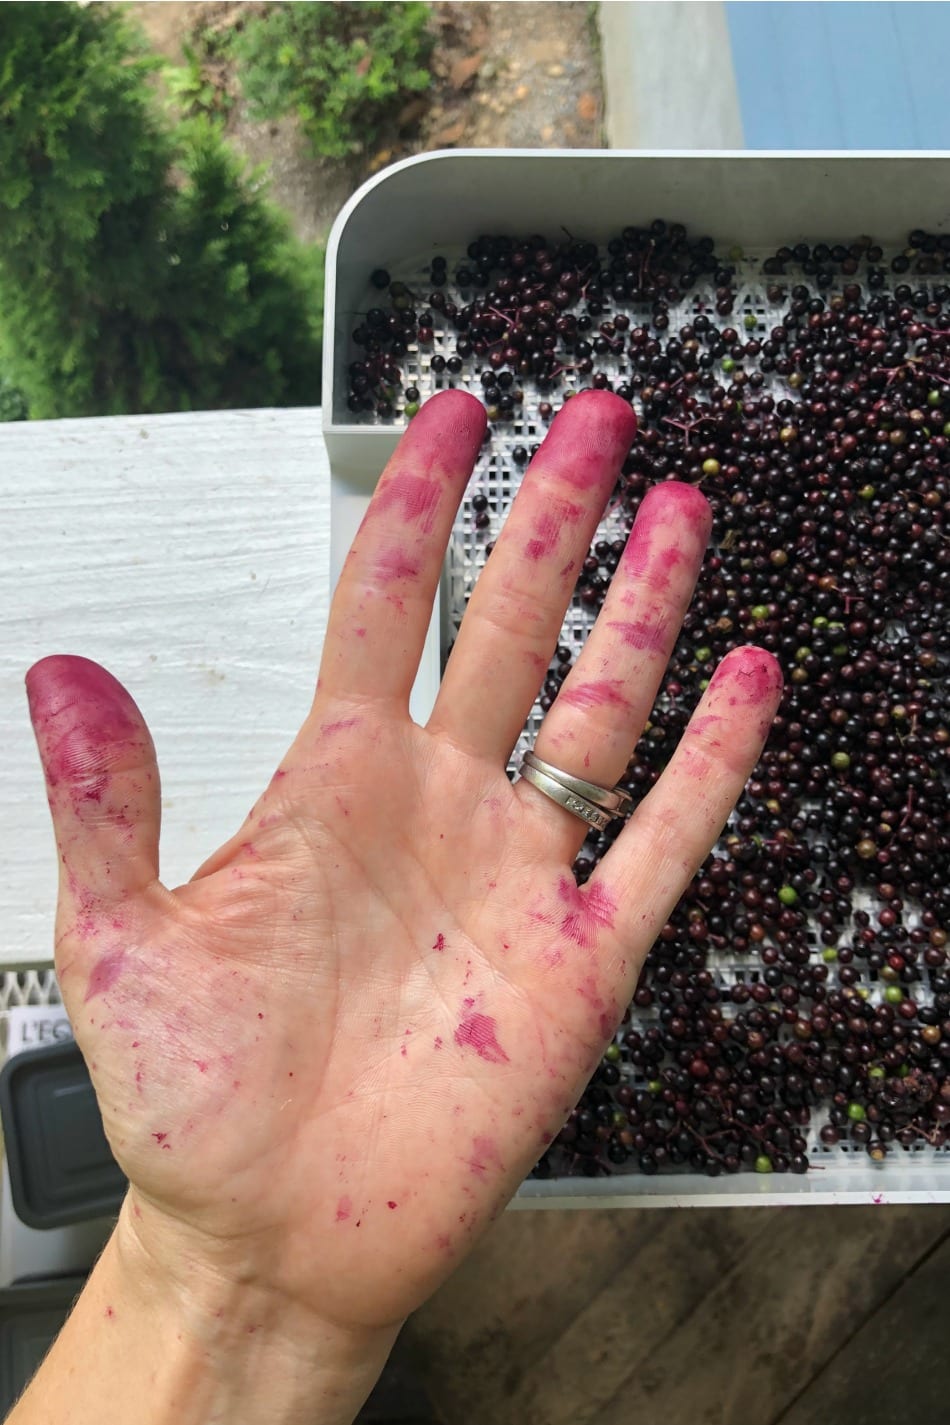
When removing elderberries from the umble, I’ve found it’s best to do it over a large bowl so you don’t lose any berries. It definitely takes a while, and yes, your hands will be purple by the end, but it’s worth it. Not only will those elderberries mean so much more to you, but if you prep and preserve them with a kid or two, it will teach them something valuable they can take with them into adulthood. It also provides a good chunk of time to sit and chat with your kids which is always time well spent.
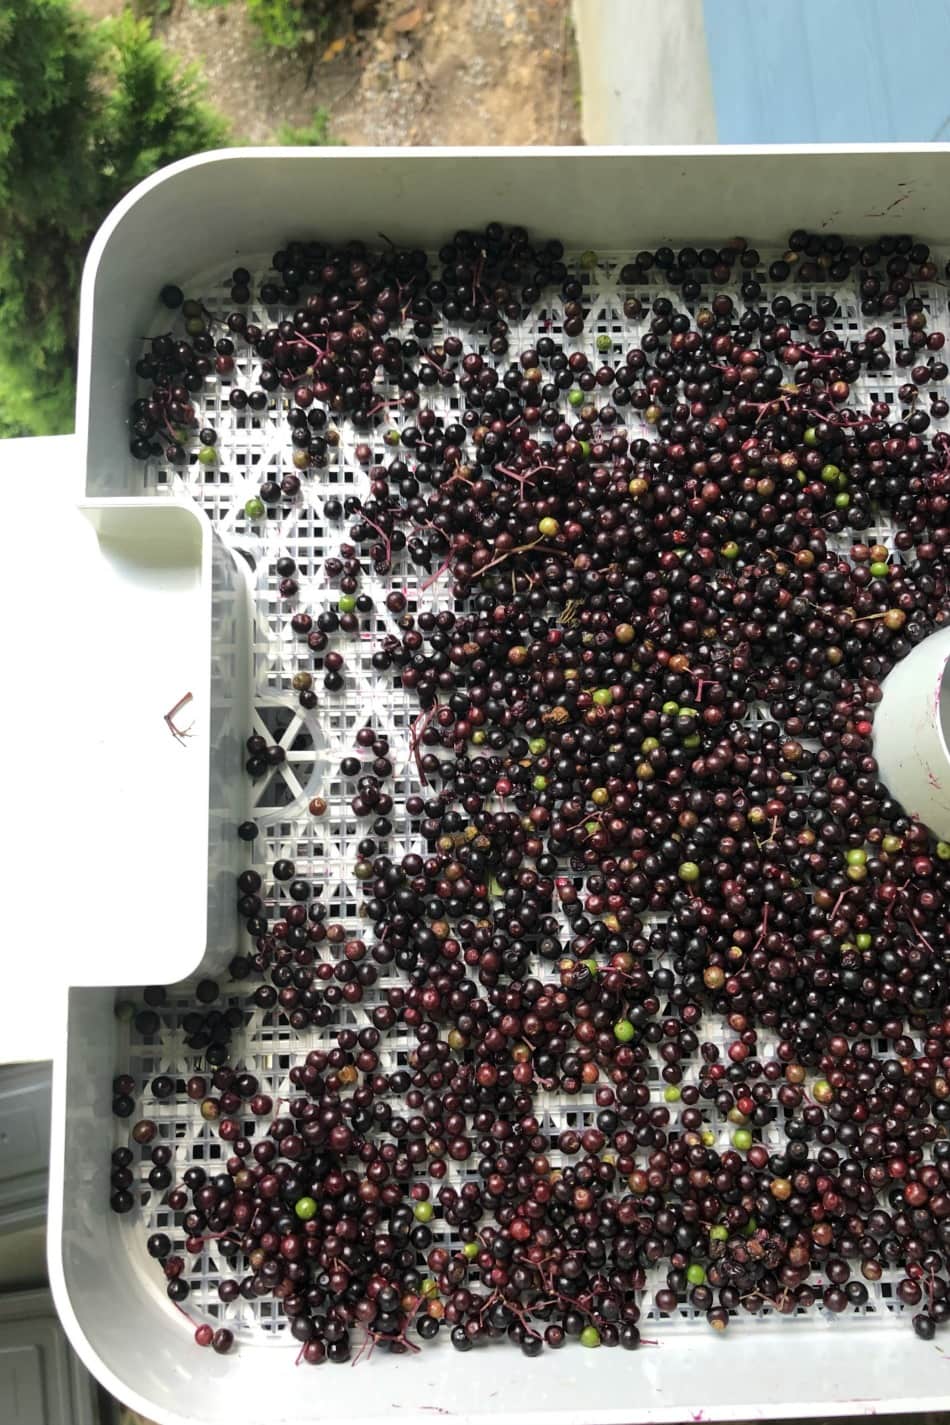
Once we had all of our elderberries off the stems, I reserved a cup of fresh berries to make a batch of my Ultimate Immune Boosting Elderberry Syrup. I then put the rest on dehydrator trays and set the berries to dry at 100 degrees for 24 hours. I increased the time as often as needed until all the moisture has evaporated and the berries are small and hard. I’m not certain how long it took. I think I let the elderberries dry for 3 full days, but I didn’t check on them all that often on day 2, so they may have been ready then.
If you don’t have a dehydrator, you can place the berries on a baking tray and dry them in your oven on its lowest temperature. I’ve never done this with elderberries so I’m not sure how much time it would take. I would not recommned drying them outside as it would take several days for them to completely dry, even when the temperature is nice and hot, and the bugs may get to them first. If drying isn’t a good option for you, you can freeze the fresh berries and dethaw them for use later if that is a better option. You can also make elderberry juice and freeze it in that form as well.
So I now have a quart of dried elderberries put away for winter and a quart of elderberry syrup in the refrigerator. Cold and flu season preparations are definitely underway here on the mountain! I can’t wait to share more with you here on the blog, over on Instagram and Facebook, and in my Lunar Letters over the coming months!
Love and light,
Meagan
One seasonal herb? How about herbs? Basil, oregano, parsley, sage, lemon thyme, stevia, echinacea, lovage, raspberries leaves, cleavers and chives. I’m working on drying them all.. echinacea I made oils, one fresh, dried,and tincture. I got done making my elderberry syrup, my elderberry bushes are not ready yet, too small..speaking of birds will get to the berries before I will, maybe I should put a net over it next year..they sure had a feasts on my blueberries, I’m thankful they left me a handful to make blueberries crisps..that’s called sharing giggle, of course I thank them.?
I’m also thinking of drying the young Dandelion leaves and roots. Probably use the leaves for salads, roots for teas..if I get all this done before our first frost comes, I will be so happy ?…believe me it’s lots of work but it’s worth it..
The taste is awesome! Thank you Meagan for this wonderful article!
Sounds like you’re a busy woman!! Best of luck with all of your fall harvest preparations!
I came across your blog researching the medicinal part of the Echinacea plant. My wife and I have been prepping our garden beds in between rains since this past February. We are blessed by neighbors who let us use their generous pile of chipped hardwood to add to our garden beds and compost throughout the year. She recently came across an article about harvesting chickweed, which has served as an excellent groundcover for our overwintered beds. We’ve been enjoying chickweed omelets for breakfast ever since! I’m grateful for your testimony of faith and agree that an awareness of His hand in the seasons and nature bring us into a greater appreciation of our Creator!
Nice to meet you, Thomas! I love chickweed. It seems to be everywhere! One of my favorite chickweed recipes is this chickweed pesto. It’s so yummy of fresh-baked bread. Yum!