As an herbalist who’s done her fair share of herbal study over the years and a homeschool mom who teaches her four boys at home every single day, I’ve learned a thing or two about good study habits. Here are 5 top-notch herbal study tips that I’ve found extremely helpful when it comes to making the most of your herbal studies (or any other study for that matter!).
5 Herbal Study Tips for Herbalists

1. Study What You’re Interested In
I can’t stress this enough. It’s really hard to learn what you’re not interested in, so if there’s a particular area of study that you’re interested in at the moment, go that route when it comes to purchasing herbal study materials, such as online courses, books, supplies, or in-person workshops/apprenticeships.
For example, if you’re into foraging for plants and mushrooms but have zero interest in working one-on-one with clients one day – don’t waste your time on clinical-level courses, books about anatomy and physiology, or researching how to create client intake and assessment forms. Instead, dive deep into material that will teach you about plant/fungi identification, best foraging practices, and how to prepare and use what you bring home.
If you’re unsure where to begin, perhaps an entry-level herbal course is a good place to start. From there, certain topics of interest will reveal themselves to you, and you can cater to further herbal studies in those areas.
Speaking of herbal studies and topic-specific courses, my friends and co-workers over at the Herbal Academy have all of their online herbal courses on sale — up to 30% off! Learn more and enroll with savings right here.
2. Get to Know Individual Herbs
Herbal studies are often filled with a lot of foundational or general information, and you’ll learn a lot about herbs through your coursework or books. However, general info isn’t all you’ll study!
Oh, no, my friend! Let me caution you not to forsake individual plant studies alongside your general coursework during your herbal studies. You see, general herbal studies and individual plant studies are two different areas of study on your herbal journey, and both are important.
Think about it like Harry Potter at Hogwarts. Not only did he have year after year of Potions classes, where he learned how to make various potions to help him in the wizarding world, but he also had Herbology, where he learned about the individual ingredients that would go in those potions.
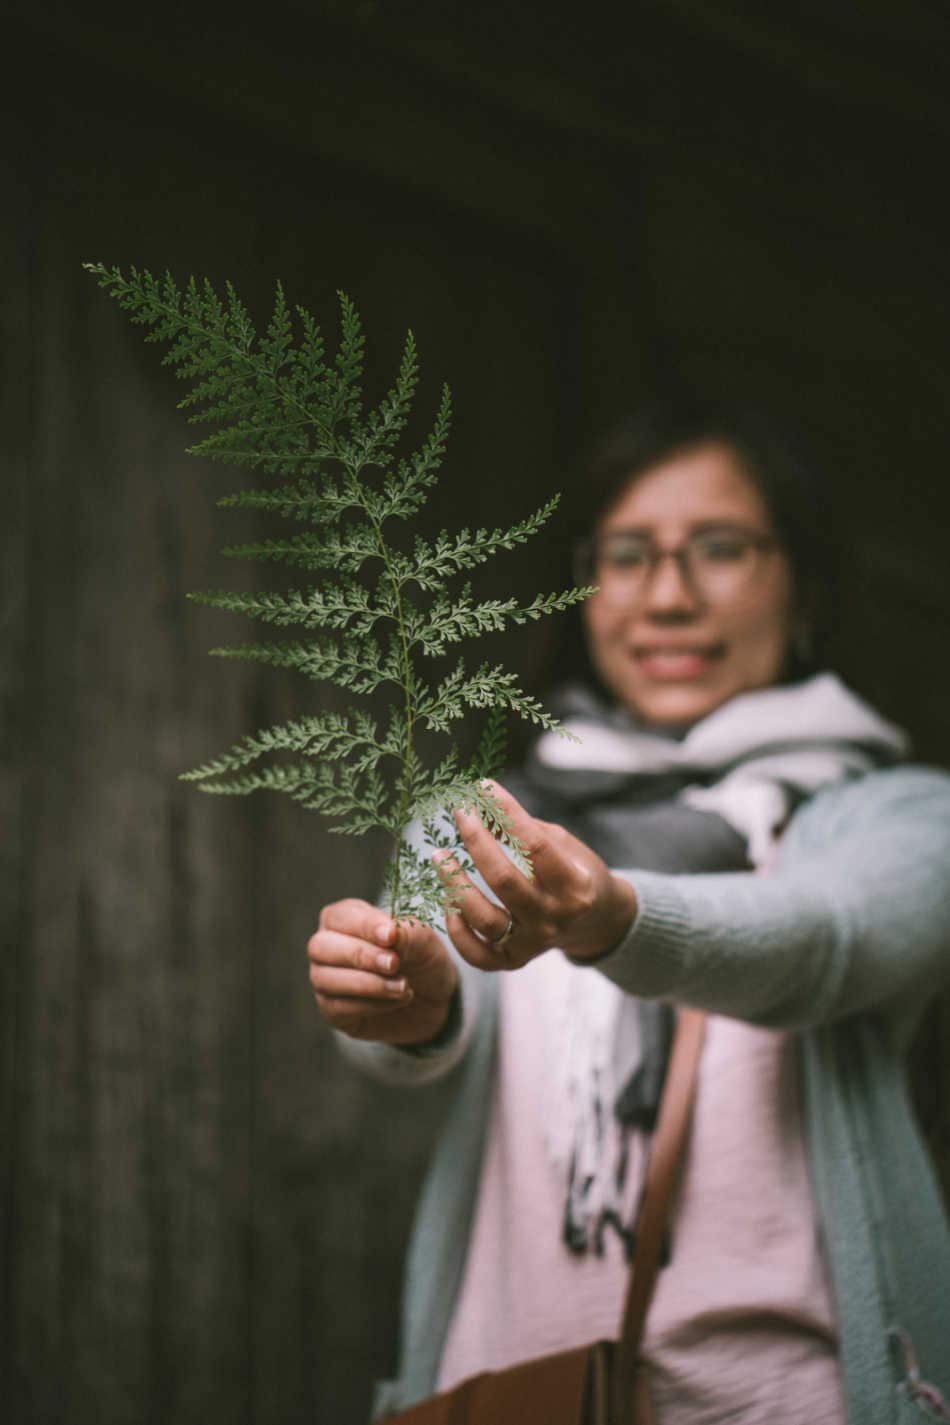
I advise starting an herbal materia medica and filling it with individual plant studies – one at a time. Choose one plant mentioned in your general studies and try to create an herbal monograph of the plant over 1-2 months. Don’t forget to include photos, drawings of the herb, or even pressed plant parts! This will help you keep track of the information you learn about a specific herb all in one nice, neat, inspiring place!
If you’d like to learn more about how to do this, my Art of Simpling herbal course will teach you all about it.

3. Keep Lessons Short and Varied
Long lessons that seem to have no end only serve to overwhelm and frustrate any student, causing the eyes to glaze over and the brain to go on autopilot. Therefore, I suggest keeping coursework to 20-30 minute blocks unless you are outdoors or doing hands-on herbal study, which can extend to 60 minutes if needed.
It’s also a good idea to vary the types of study you are doing, whether it be through switching up the format of the lessons from text to video to audio to hands-on, or by altering types of herbal study that take a lot of concentration with those that take less focus to give the brain a break.
Back to our foraging example. If you’re taking a day to study, your study time may look like this.
- Start out with 20 minutes of reading your text-based lesson.
- Next, watch a 30-minute video, either in your course or on YouTube, about what you just studied in the lesson.
- From there, pull out a book on your reading list about at-risk plants in your local area and read for 20 minutes.
- After that, work on some flashcards.
- Next, head outside to try to identify and forage a new plant you’re learning about.
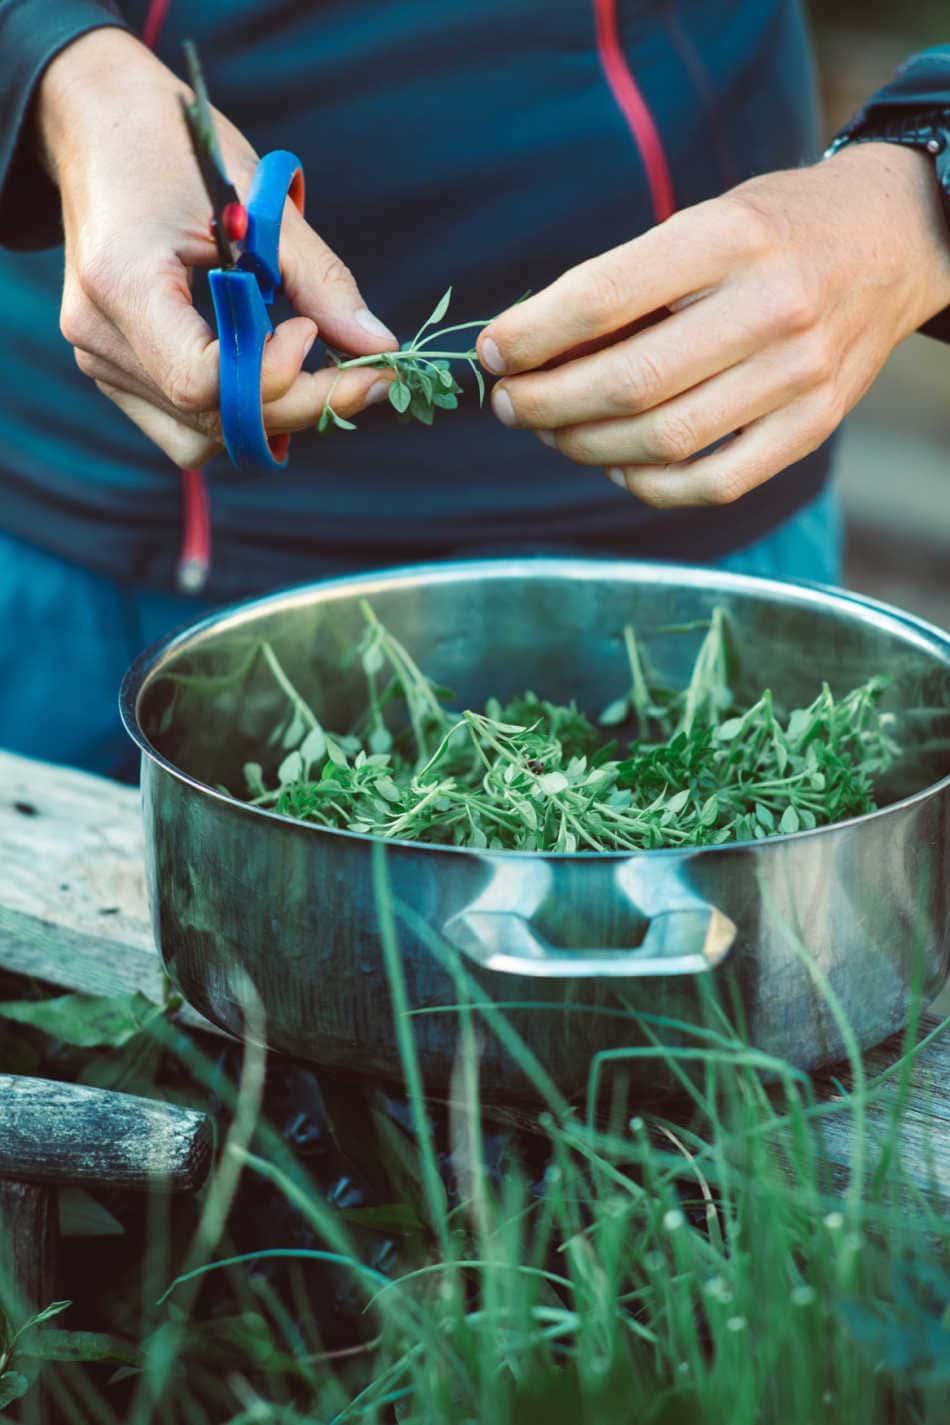
- Bring it back to the kitchen to make a recipe featured in your coursework or store it in your apothecary for future use.
Again, this is just an example. You could do all of this in one day or break it up over the week, doing one thing each day.
4. Narrate What You’ve Learned
Narration is the practice of summarizing what you’ve learned audibly or through writing and is a great way to recall the most important things you just learned and them down in audible or written format to help cement them into your mind.
Here’s how it works. After an herbal study period, narrate what you read out loud to another person or as a private voice recording, or write out your summary in a notebook. Keeping track of your lessons this way is a great way to keep your studies organized, review things you’ve been learning, and keep track of the hours you’ve spent on each subject.

5. Incorporate Hands-On Activities
Lastly, put what you’re learning into action by getting hands-on. There are a few ideas you can try when it comes to hands-on activities.
Make Herbal Preparations and Recipes
Choose 1-3 of the preparations and recipes you come across during your studies and actually make and use them. Making herbal preparations and learning to use them takes your book learning and transforms it into real-life application, which has a way of sticking as nothing else does. Not only that, but it helps you perfect the art of “potion-making” – aka, preparation-making and helps to familiarize you with how different herbs and preparations should taste and feel in your body.
Herbal Flashcards
Another option is to make herbal flashcards and review them as a hands-on activity. To do this, simply take some small pieces of paper. On one side, write the herb’s common name; on the other side, write one of the following for each set of flashcards.
- Latin binomials
- Energetics
- Primary herbal actions
- Plant identification pictures
Bonus points if you do this for the herbs you regularly add to your materia medica. Over time, your flashcard sets will get bigger and bigger as you learn more plants.
Herbal Apothecary Tags/Labels
You can also create a tag or sticker label to accompany herbs in your home apothecary. Hang a tag around the neck of the jar with some twine or stick the label to the front or back of the jar.
This label should include the following information:
- Herb common name + Latin binomial
- Energetics (warming, cooling, moistening, drying, relaxing, toning)
- Flavor (sweet, salty, bitter, pungent, sour)
- Primary herbal actions
- Use by date (one year from the purchase date)
Common Ailments Cheatsheet
Another hands-on activity is to create a common ailments cheat sheet with a list of ailments, such as burns, cuts, insect bites, headache, cough, nausea, etc., followed by hints to herbal allies and recipes that help each ailment.
This cheat sheet can be in a notebook, on flashcards, or on a paper hanging in your natural medicine cabinet. As you study herbs, learn more recipes, or gain more experience with the ailments on the cheatsheet, you can add or remove things to keep it filled with exactly what you need.
A common ailments cheat sheet will reduce how much you have to think about things when you’re not feeling well, and it will help to cement the herbs and recipes for each condition in your brain over time, so much so that you eventually won’t need the cheat sheet at all!
If you’d like to see how these hands-on herbal study activities look in real life, Herbal Academy has some great visuals of some of these right here.

Alright, friend. There you have it – 5 herbal study tips that I’ve found extremely helpful in making the most of one’s herbal studies.
In the comments below, let me know which tip is your favorite and why.
Love and light,
Meagan