We’ve been living in our new home for four months now, and the project list feels never-ending. As we transition from winter to spring, my thoughts continually drift towards the project of creating a beautiful home garden—something I’ve come to love and value.
Gardens, in my opinion, are one of the key elements that make a house a home. Not only do they add beauty, function, and sustenance to a piece of land, but the act of gardening is a stress reliever and a creative outlet.
At our house on the mountain, we invested in terracing our front lawn area to create a space for a beautiful home garden where we would grow herbs and flowers. Here at our new home, though, no such thing exists yet. The beautiful landscaping that once was is now overgrown and unkept, and one of our big projects for the year is to create a beautiful home garden in this new space.
My Vision for a Beautiful Home Garden
When it comes to creating a home garden at our new house, we’re doing things a bit differently than at our last house. This time, my vision isn’t to have separate gardens, one for vegetables, one for herbs, one for flowers, etc. This time, for the most part, I want to combine everything together.
Yes, you read that right. This time, my vision is to have a beautiful home garden that stretches all the way around our home. I’d like everything to flow together, paths and hardscaping elements connecting various spaces together. In each space, there will be combinations of fruits, vegetables, herbs, ornamental plants, and flowers. I’m sure there will be some areas where certain types of plants will be separated. I definitely have my heart set on a rose garden! However, the overall idea is to have everything intermingled as much as possible.
My ultimate goal is to create a beautiful home garden that will give a cozy visual appeal to our home and provide a space that my family and I, as well as our friends, can enjoy for years to come.
Today, I’d like to share what I’ve learned about designing a beautiful home garden and how I plan to bring it to life as I create various gardens around our new home.
The Beautiful Edible Garden Book
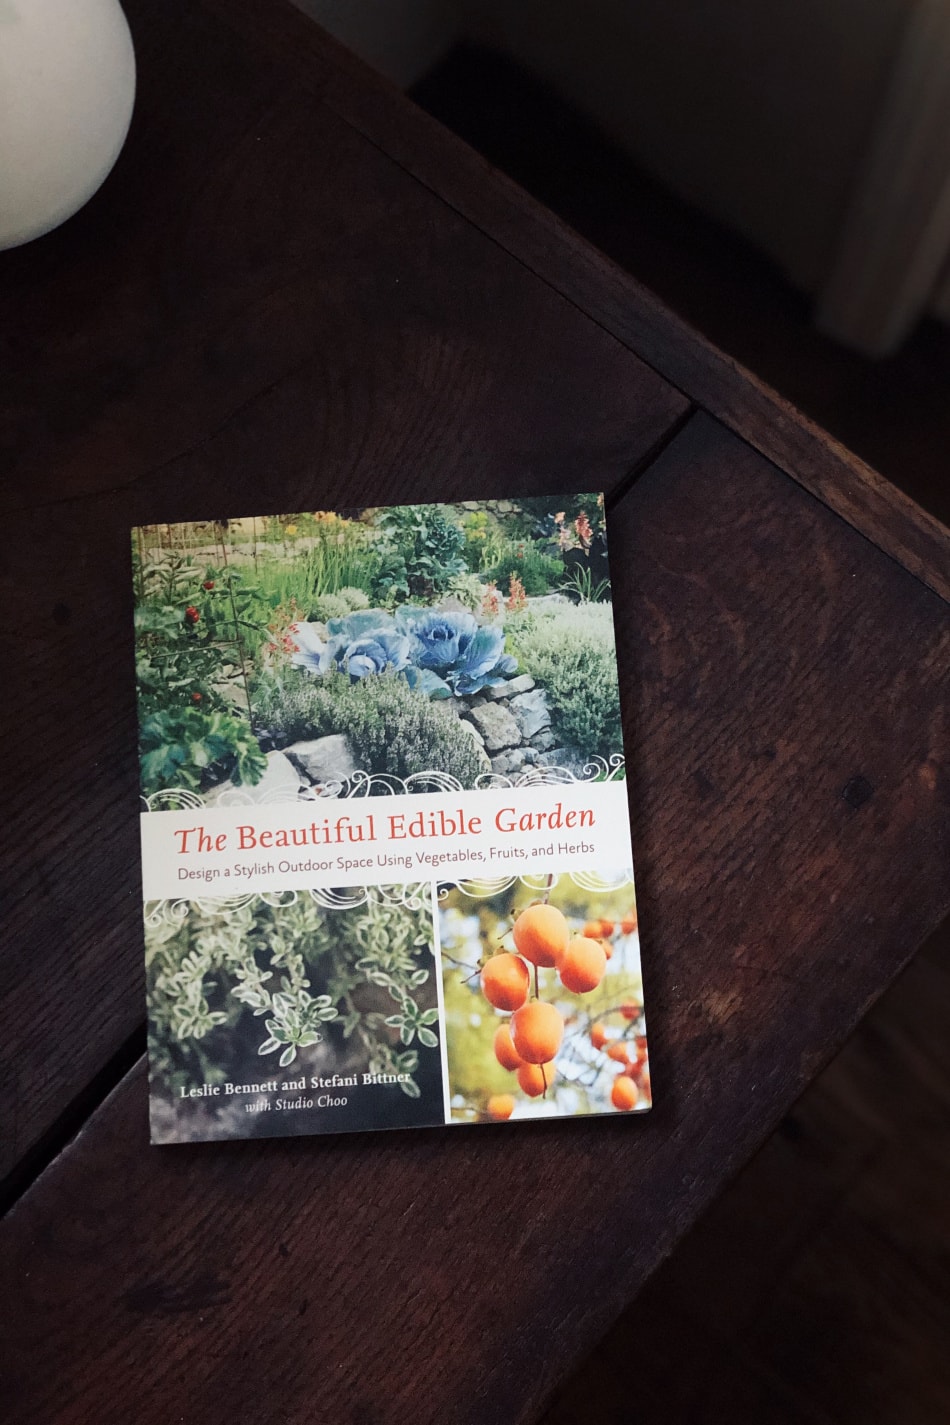
The Beautiful Edible Garden by Leslie Bennett and Stefani Bittner is a book I purchased a while back to help teach and inspire me in creating the gardens of my dreams at our new abode.
While I’m not a gardener or a designer by any means, I do know what I like, and as Austin Kleon would advise, I know how to steal like an artist. There’s inspiration all around. I love finding things that catch my eye and then trying to implement some of those things in my own life while putting my own personal spin on it.
With that said, I’d like to share 5 steps to creating a beautiful home garden with you today. These tips will work for you if you’re making one bed or twenty, if you’re starting an herb garden, or if you plan on combining everything like me.
5 Steps to Create A Beautiful Home Garden
These garden design steps come from the book The Beautiful Edible Garden by Leslie Bennett and Stefani Bittner. If you want to create a garden that combines many elements together, I’d highly recommend this book as they go into MUCH more detail about each step in this process than I do!
Below you’ll find each of the five steps, some details about each of them, and how I plan to implement these steps as my husband and I create our own beautiful home garden.
1. Lay Out The Bones
The first step to creating a beautiful home garden is to plan out your permanent elements—aka, the bones of the garden. This would be things like pathways, planting beds, borders, patio areas, lawn spaces, so on and so forth.
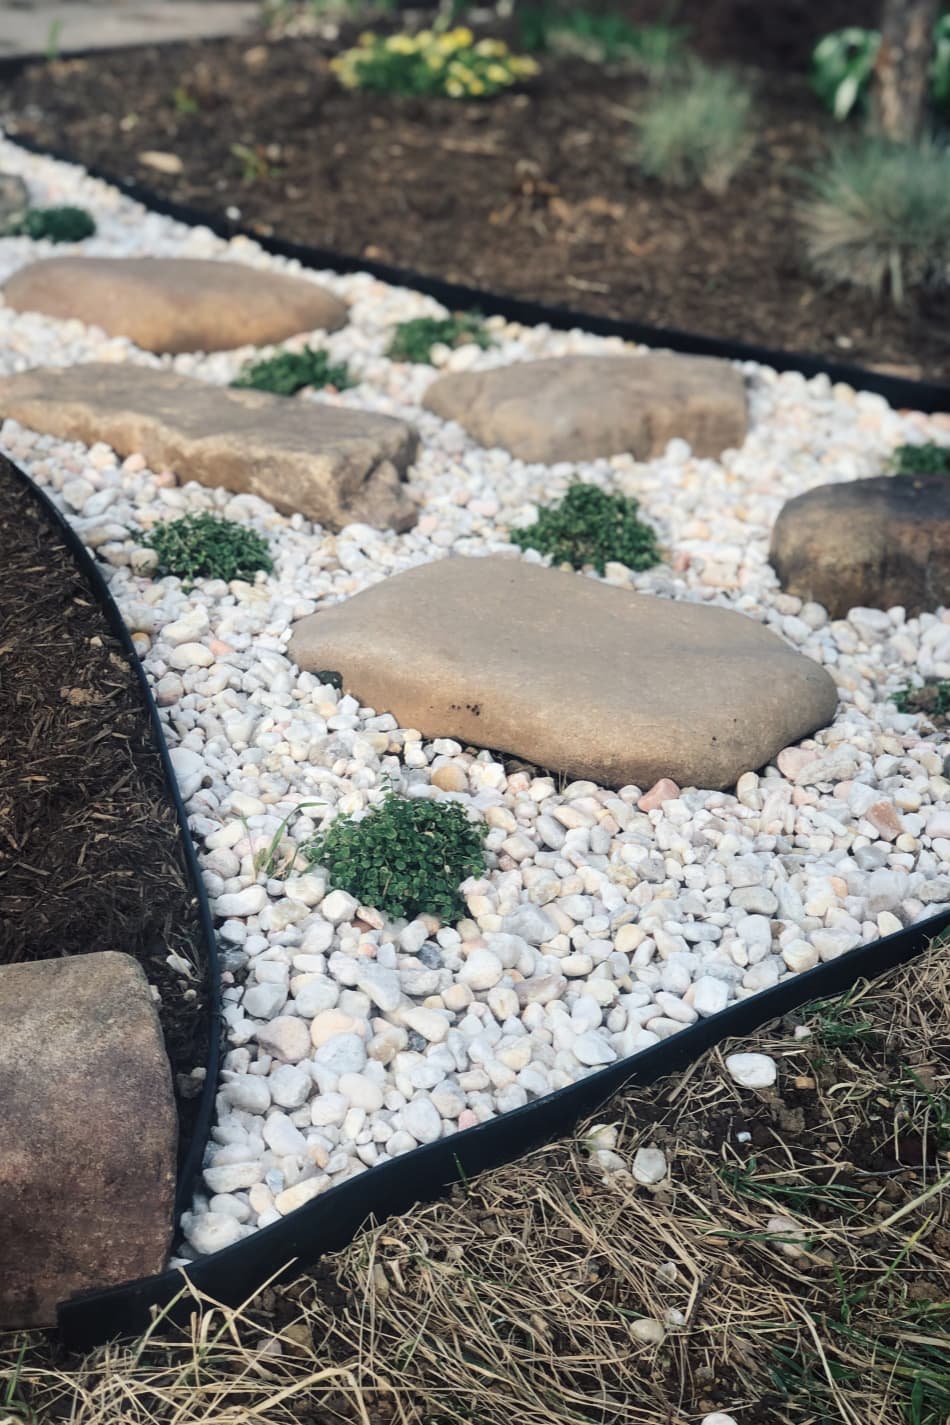
The bones of a garden are very important as it helps to tie all of the spaces in your garden together, creating a seamless look. They also help your garden to look nice when plants have died back or when your beds are empty.
One thing to keep in mind here is to decide on elements that reflect your style. At our house on the mountain, our home was more rustic and worn looking—think of a rustic mountain cottage. Here at our new home, while we’re still going with the worn look, we’ve swapped the rustic style out with a more traditional, old-world look—think of an English country cottage.
Here we’ll use rocks that reflect the creek that flows alongside our property, using these for borders in the garden. We’ll incorporate the brown brick that lines the bottom of our house for some pathways and patio areas. We’ll pull timber that will lend itself to the borders of planting beds and may even serve to grow mushrooms at some point. We’ll also bring in pea gravel and mulch for pathways.
To implement this step, I’ve drawn out where I want my gardens located.
I’ve begun by sketching my garden from a bird’s eye view. This makes it easier for me to see where the garden will be around our home—allowing me to visualize the overall garden’s shape and to see where to add additional garden spaces in the future.
In this sketch, I have added little notes about pathway materials, various borders to use for garden beds, the position and shape of the garden beds, and where I want patio or grass areas located.
2. Establish Focal Points
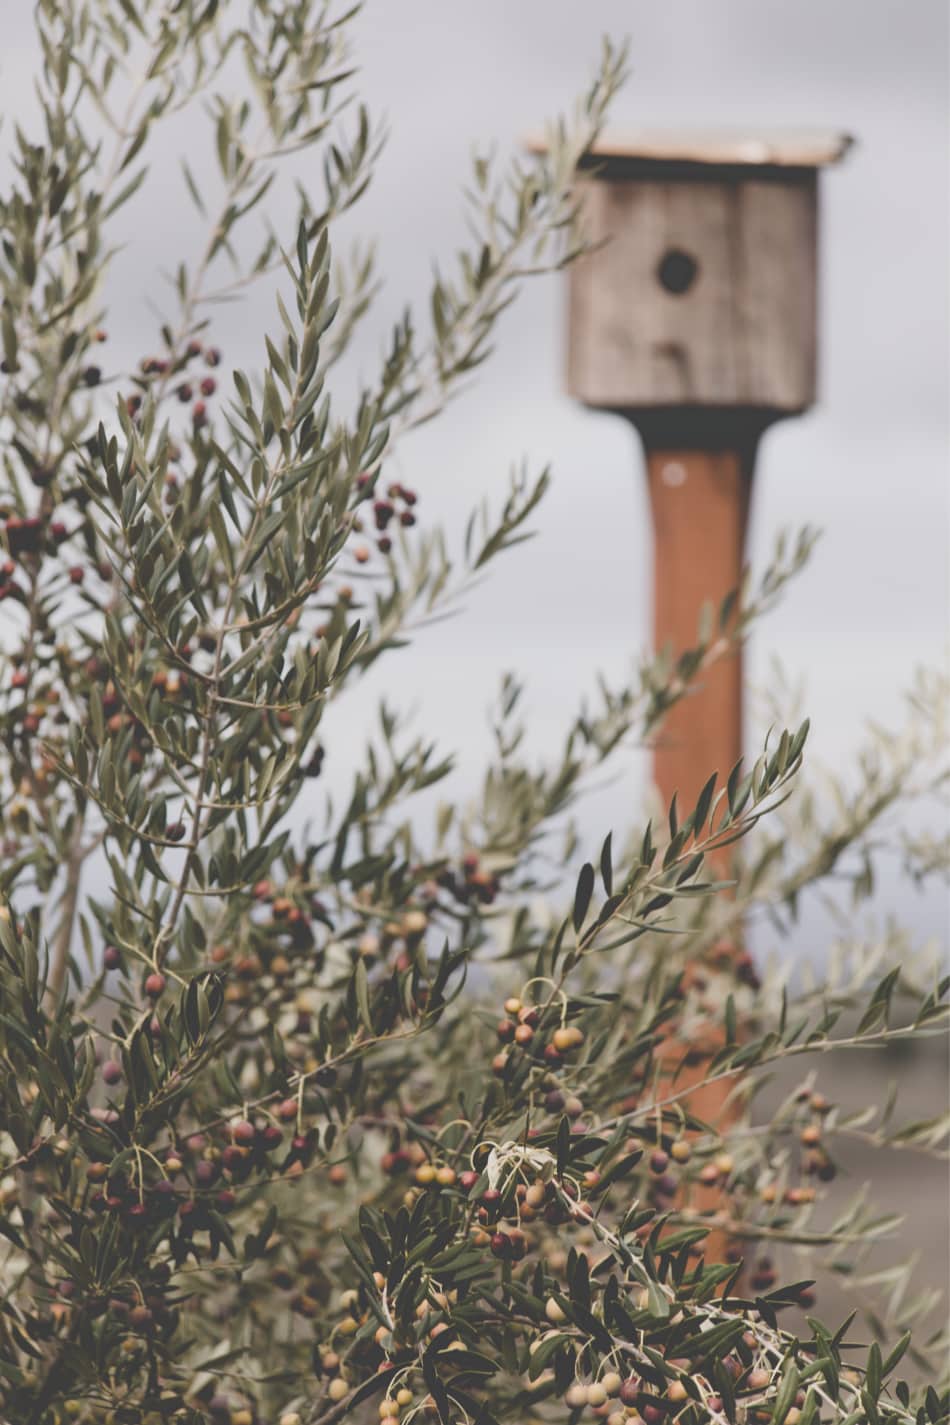
The next step in designing a beautiful home garden is to add elements that act as focal points, such as gates, places to sit, fountains, garden art, or even a beautiful tree.
For this step, I have chosen to hone in on one garden space at a time, and I create a sketch specific to each area. I’m still sketching from a bird’s eye view or top view of the garden so I can see where everything will be placed, but sometimes it’s helpful to sketch it from ground level as well so I can see the layers I’m creating in the garden. I’ll talk more about this as we go along, though.
To make this step easier, I’ve divided the garden spaces around our house into those on the north, south, east, and west sides of our house. This year, we’re only focusing on the gardens that lie to the east and west of our home. The gardens on the east side of our home will be the first thing you see when you pull up to our house, and the gardens on the west side receive the most sun, making them a perfect location to grow the majority of our food.
In each of my sketches, I first draft out where the pathways and garden beds will be. It’s here that I will add in some focal points. For example, when you first pull into our driveway, there’s a garden space directly where we park. Here I’d love to have some visual element like a beautiful tree or a fountain that catches the eye. In larger garden spaces, I may have a gate that blocks the pathway that leads from one garden space to another. This way, when you’re walking along pathways, your eye naturally travels to the gate you have to walk through before moving into the next garden space.
3. Plant Structural Plants
The third step in laying out a beautiful home garden is to place structural plants, such as trees, grasses, and vines in specific places. This can help to create lines in your garden spaces, allowing your spaces to flow nicely together.
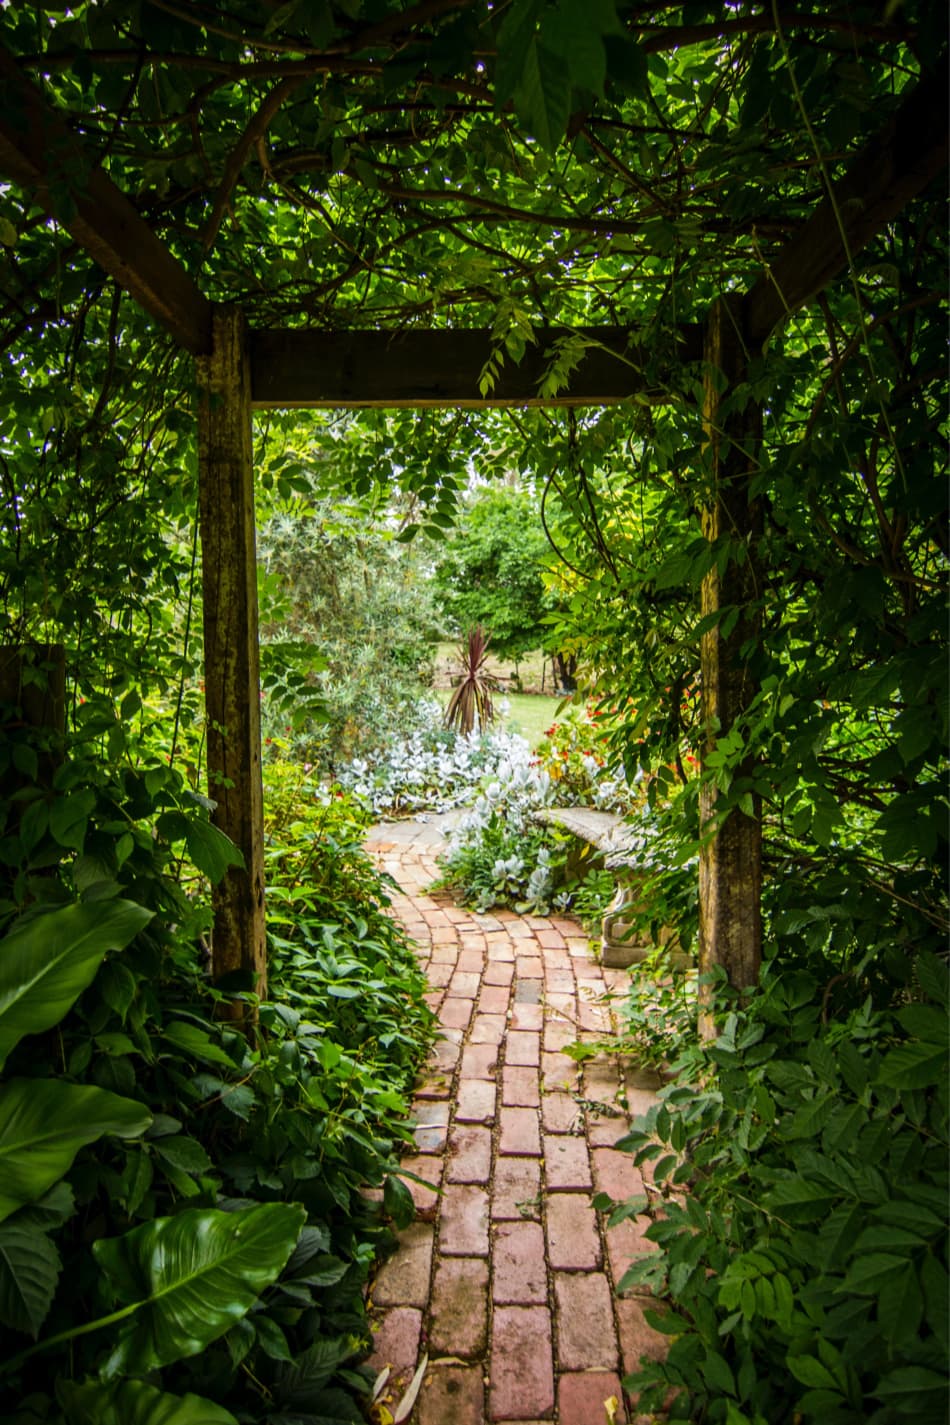
Structural plants are really helpful during the winter months when most other plants in the garden die back. Trees, both conifer and deciduous, as well as most grasses and some vining plants, tend to remain throughout the winter months providing beauty and structure to bleak gardens.
For this step, I add these elements into my garden sketches. In some garden spaces, a tree or grass may be a focal point or serve as a border. In other garden spaces, trees or vines can be added at the corner of a house to create some structure or to smooth out the harshness that corners can create. I also like to add grasses to the center or backs of garden beds depending on where the bed is located. For beds you can walk around, structural elements are placed in the center of the bed. For beds you can only access from one side, tall structural elements are placed in the back.
This is where having both a top-view and eye-level sketch really comes in handy! A top-view sketch allows you to see how to space everything out, and the eye-level sketch helps you to see how the garden will look from front to back when plants are fully grown.
During this step, I do some research on trees, grasses, and vines that would be a fit for our location. Sometimes I have an idea of a tree that I want to use, like hawthorn or witch hazel trees, so I research these to look for several pieces of information:
- Whether the tree or grass is hardy in our planting zone,
- How large it will be when fully grown,
- How much sun or shade it needs,
- What kind of upkeep is required,
- What pests/diseases to be aware of,
- How much water it needs,
- So on and so forth.
Lastly, I make a list of potential trees, grasses, vines, or other structural plants that would be a fit for the garden space I’m working on in the margin of my sketch. I also take note of their size when mature so I’m sure to give each plant enough space to grow.
4. Add ‘Looker’ and ‘Useful’ Plants
The fourth step in creating a beautiful home garden is to add in some plants that are beautiful or productive in some way, and for most people, this is going to be the most enjoyable step of garden design.
When I think of these plants, I think of flowers, herbs, vegetables, and fruits as these plants can often be beautiful and useful. This is also where I begin working themes in my garden.
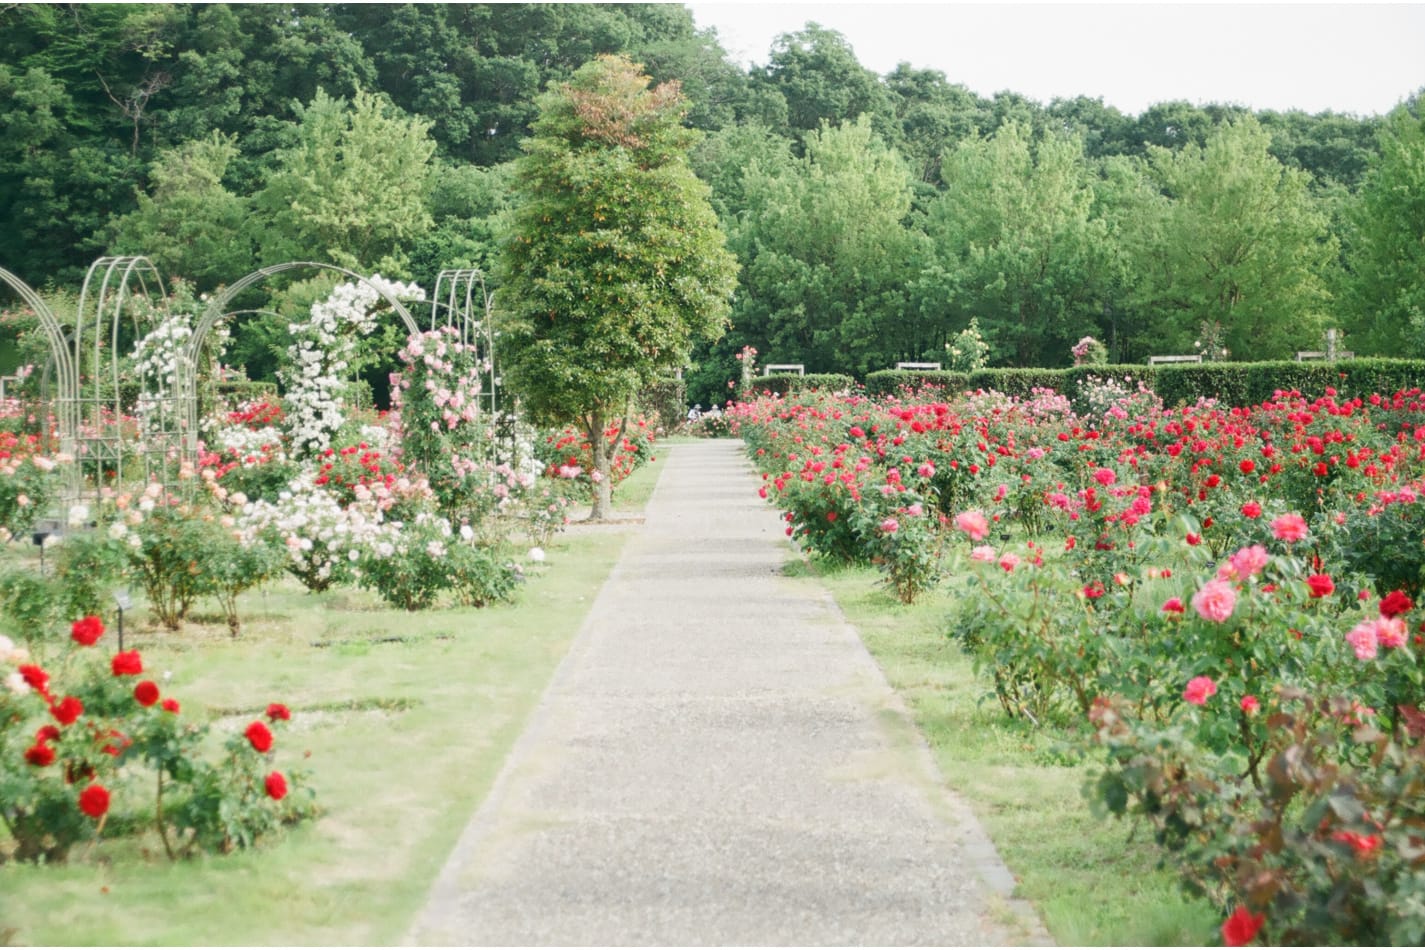
For example, at my last house, I had what I called “The White Garden,” “The Culinary Garden,” “The Herb Garden,” and “The Cut Flower Garden.” While my goal here in the valley is to intermingle different types of plants in all my garden spaces, I can’t help but think there will be a bit of division in some places.
I loved “The White Garden” back at the house on the mountain, so to recreate that here in the valley, I may create a garden space to grow white herbs like yarrow and elder, white flowers like Shasta daisies and snowdrops, white vegetables like cauliflower, and white fruit like cantaloupe.
Another example is to make a “Cold and Flu Garden” somewhere on your property. Here you can plant herbs that are useful for viral ailments and the symptoms that often accompany them. You could grow garlic and onions as your veggie plants. You could even grow some sort of citrus in the center of the garden if you live in a climate that supports that kind of plant (or plant it in a container and bring it inside during the colder months).
A final example of this is to create a garden where everything ties together based on color. One of our gardens is filled with plants in blues, yellows, greens, and whites. All the plants in this garden are useful in different ways. Some are herbs which will be harvested and added to my home apothecary. Others are for cutting and adding to flower arrangements. Some are for scent and food for birds, bees, and butterflies. Others can even be used for wild foods! Did you know hostas can be eaten? Yes, they can! Here’s how Forager Chef goes about harvesting and cooking hostas if you’re interested.
So there you go. When it comes to adding looker and useful plants, the possibilities are endless!
5. Fill In The Gaps
The final step to create a beautiful home garden is to fill in any gaps that you find in your garden beds. Here is where your ground covers and low-growing plants come into play.
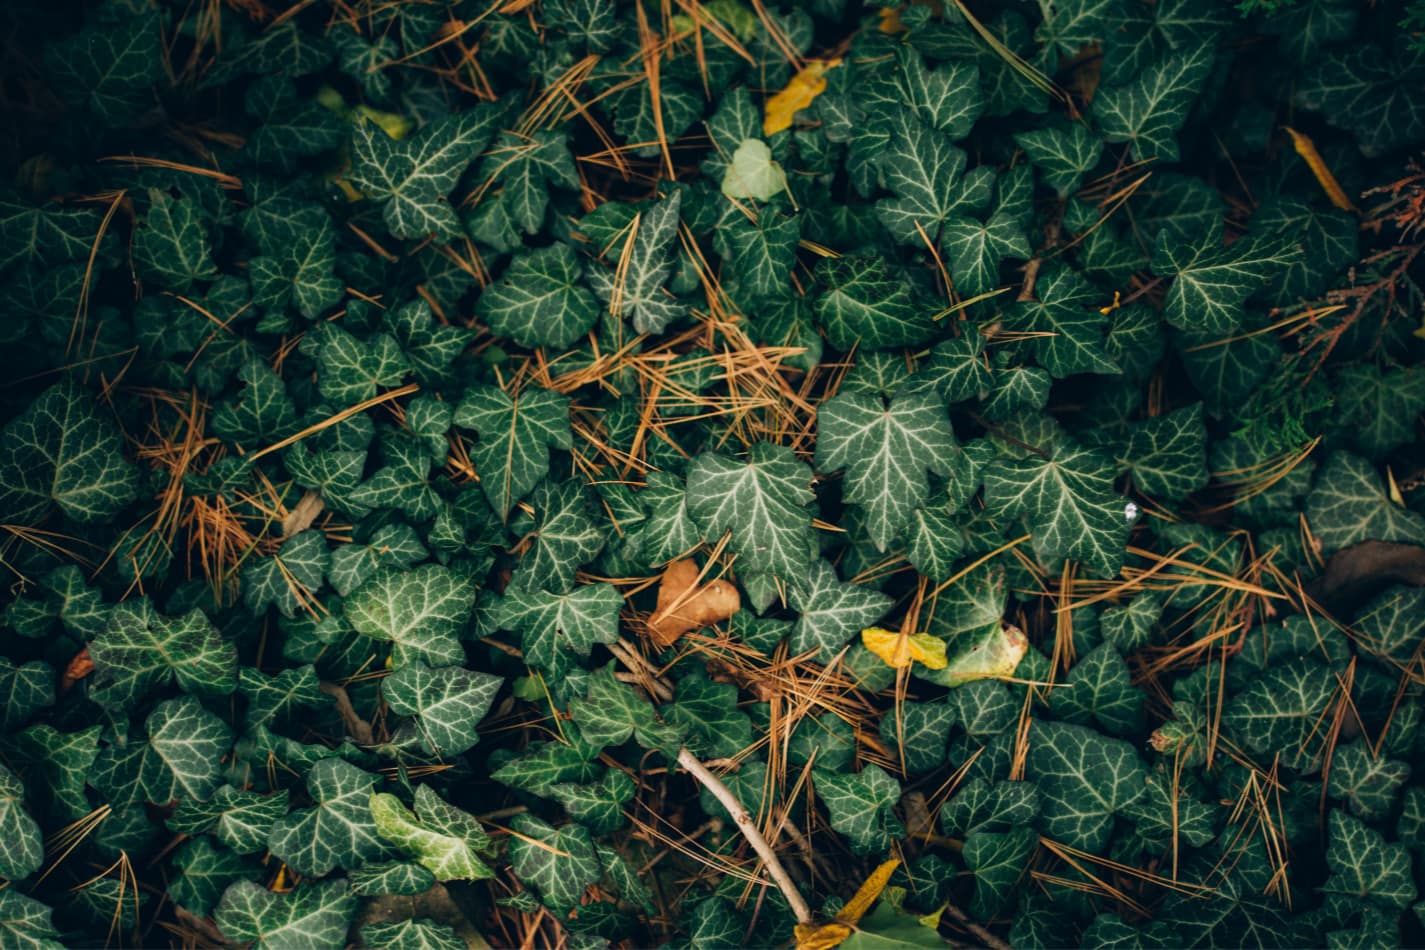
Ground covers look amazing planted along the edges of beds so they can spread and cascade over rocks or logs and out towards the pathways.
Succulents are another type of plant that can be used here to create some visual interest as they’re typically shorter plants and there are so many colors and varieties that you’ll have a lot of options to choose from.
Ivy is another one of my favorite types of plants to use when it comes to filling in the gaps, and this is a particularly good one for our house here in the valley with its old English style.
Bulbs are another option that can really help to fill in some extra space. Personally, I like to see where my gaps are after watching my gardens for an entire season. This helps me to see where I can add in some specific types of bulbs here and there to fill in some empty space as needed.
Rocks and succulents can even be used to fill in some extra space in the garden!
One very important thing to keep in mind when filling in spaces in the garden is to consider the mature size of your perennial plants. When you first plant perennials, chances are they will be small, and your garden is going to look like it has a bunch of empty space and gaps in it. Now before you get excited and add in a bunch of additional perennial plants to fill in the gaps, remember that those plants need space to grow. Instead of cramming too much into your garden and eventually squishing your plants, it’s a good idea to fill in gaps with annuals for the first year or two. Once your perennials reach mature size (or close to it), you have a better idea of where plants need to be added to fill in space.
In Closing
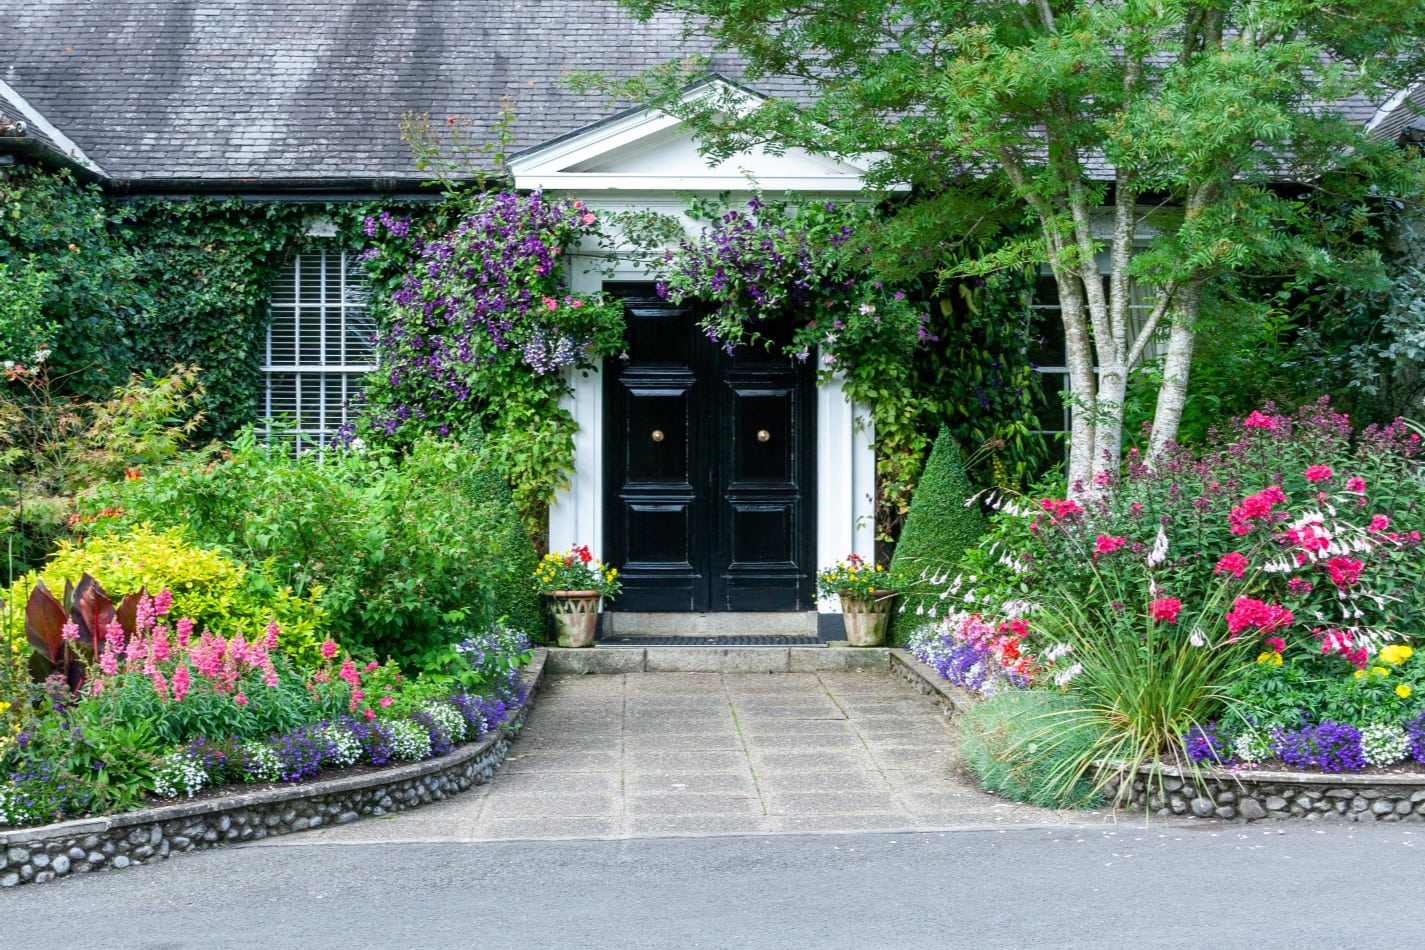
While there are rules to creating beautiful garden spaces, ultimately, beauty is in the eye of the beholder. If you choose to go a different route and break a gardening rule, go for it. You can always change things around later if you choose.
With that said, rules have their place. As I’ve learned more about gardening, I’ve found that following rules has been helpful to me in learning more about garden design and the plants I put in my gardens. As I grow more confident, I do find that I break rules here and there and that I’m developing my own style, but this is definitely something that comes with time—and something I’m still learning about as well!
I hope you’ve found the information in this article helpful, and I hope it makes creating a beautiful home garden, no matter what type of garden it is, a bit easier for you!
Love and light,
Meagan
I love number 3! I’ve been planting herbs since 10 years ago we’ve been here. Mine doesn’t look as nice as yours but it does the trick. I just want to add, be careful with English Ivy as it is very invasive. I’ve judt really found out how bad it is this year as it has grown into my building. Lol. I love it and still have some left there where I removed a lot. I might try and replant it if I get a structure like yours done. Thanks for your post! ;*)
Love & light!
Yes! We had tons of English ivy at our last house, and I loved that it grew on everything. I did have to keep it trimmed back each year, though! Glad you found this blog post helpful!