I was recently inspired by herbalist Rachel Wolf (@lusa_mama) to try making some fermented herbal soda using foraged autumn botanicals around my home.
After making a batch, I was so impressed with how easily it came together that I knew this would be an ongoing thing for me to help support my gut after antibiotics in my ongoing attempt to restore my gut health. I also knew I wanted to share this herbal fermented soda recipe with you as well.
This recipe takes 2 days for the first ferment and 1-2 days for the second ferment (which is only required if you like your sodas fizzy), and in the end, it’s quite comparable to water kefir. In fact, my kids liked it just as much! While my first batch was delicious, I decided to tweak it just a touch because it was a tad on the sweet side for my liking.
Below you will find my updated fermented herbal soda recipe and the steps I take to make it. Hopefully, this will inspire you to head outside, forage some autumn herbs, and try making your own herbal fermented soda!
Herbal Fermented Soda Recipe: Autumn Edition

1. Harvest autumn botanicals!
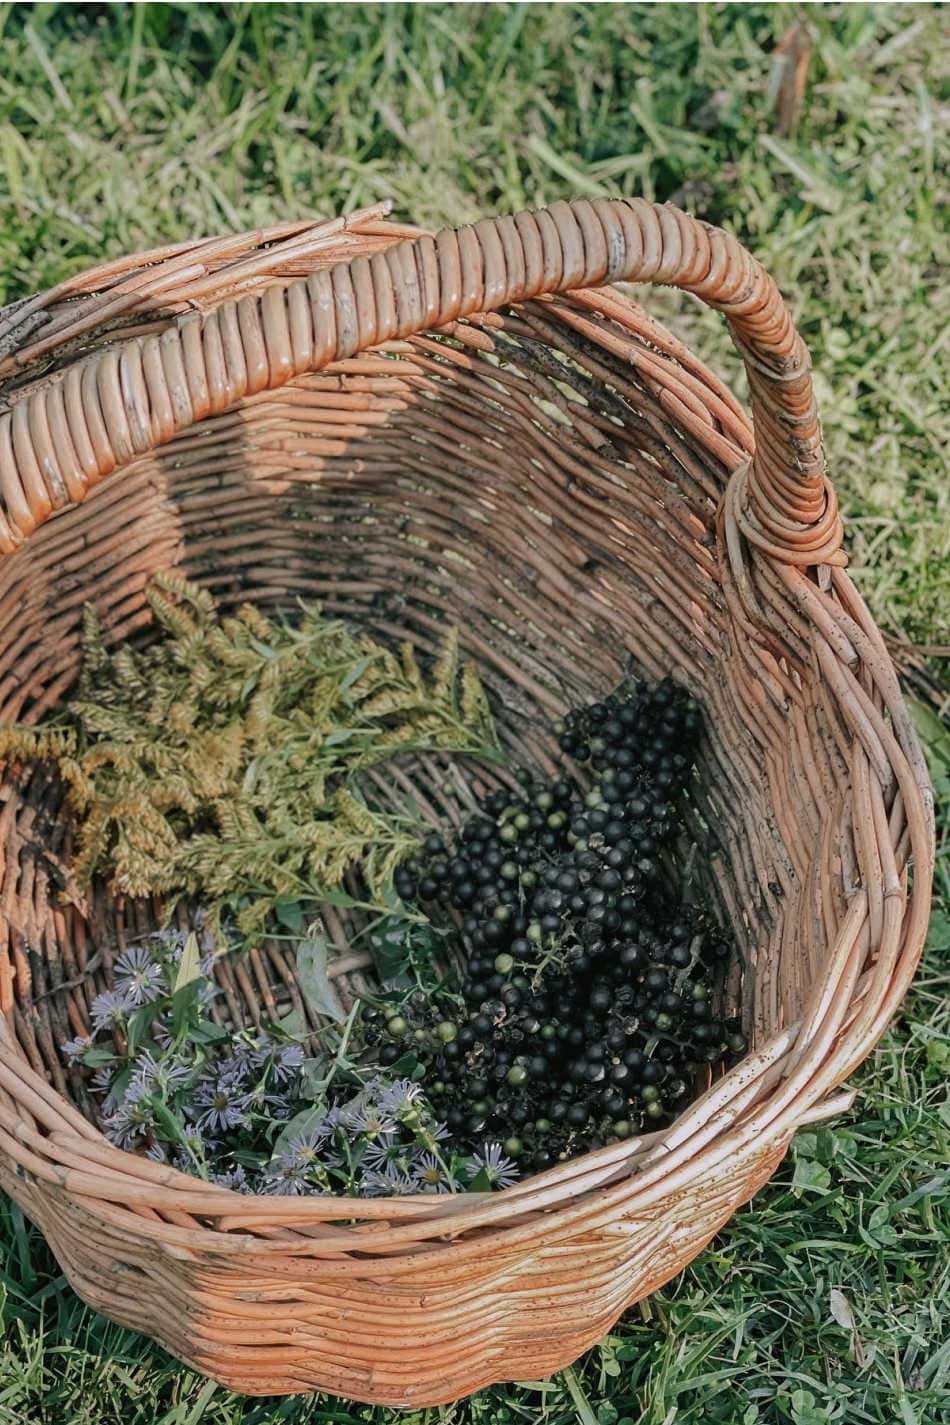
To make an autumn edition of this herbal fermented soda, I set off to explore my property in search of autumn botanicals that were ripe for the harvest. What I ended up with were fresh goldenrod (Solidago spp.) flower heads, fresh aster (Symphyotrichum spp.) flowers, and fresh wild fox (Vitis labrusca) grapes!

2. Get messy in the kitchen!
To make your herbal fermented soda, you’ll need:
- 1-gallon jar (or cut measurements in 1/2 for 1/2-gallon jar)
- 2 cups fresh herbs
- 1 cup raw honey
- 2 tbsp fresh lemon juice
- 2 tbsp raw apple cider vinegar
- Spring or filtered water
Directions:
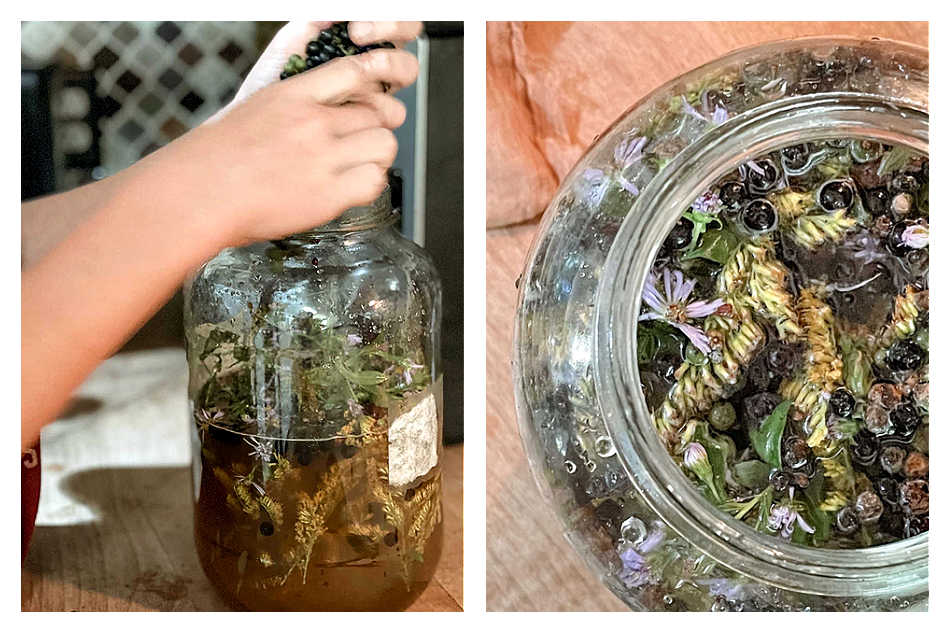
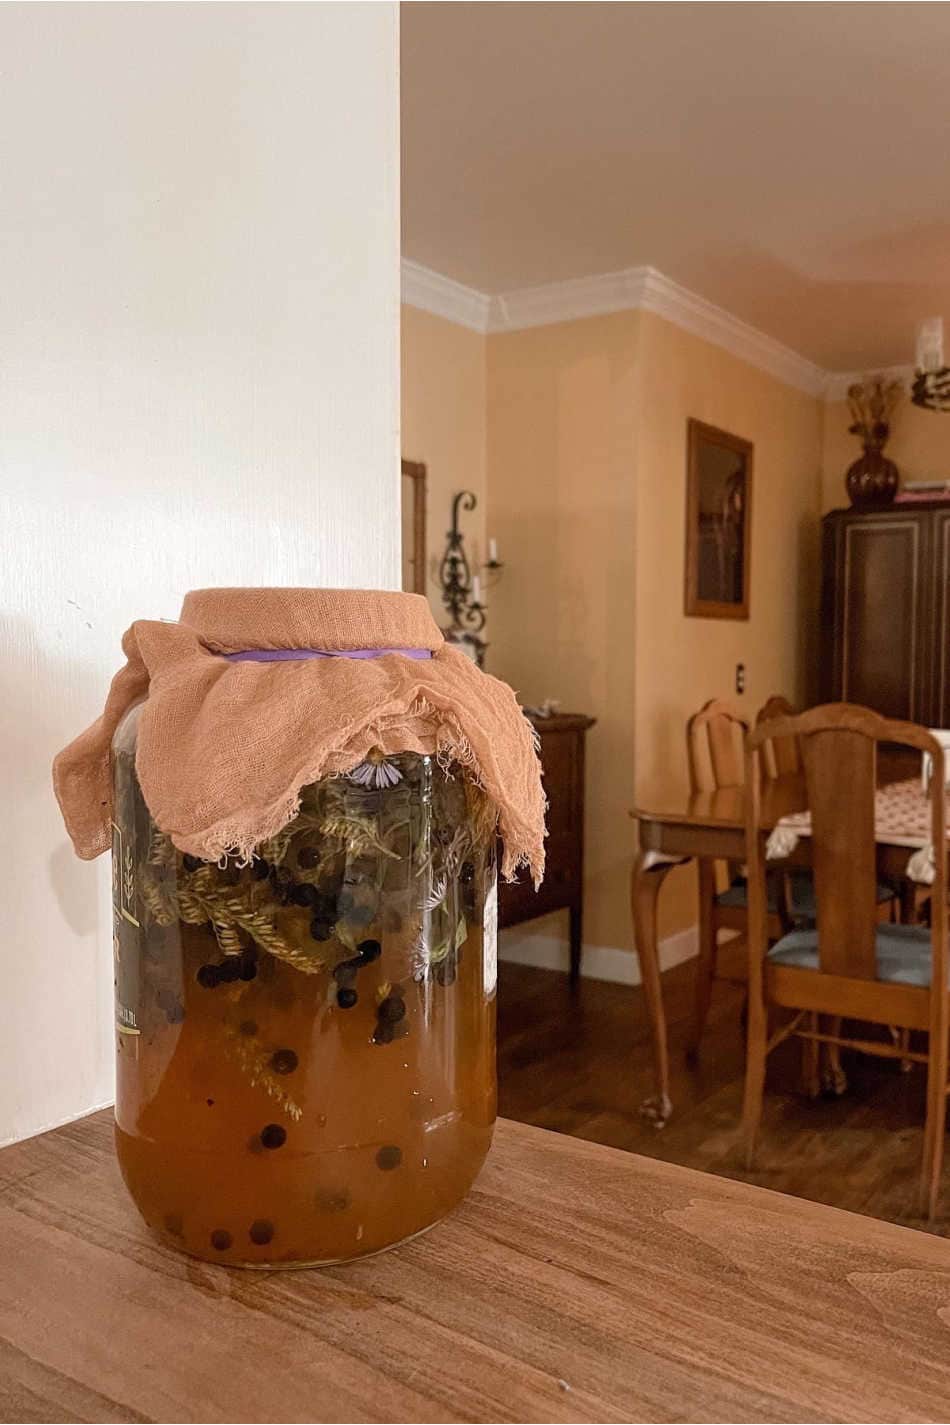
First, I took some time to destem the wild grapes. I’m not sure if this was necessary or not, but I didn’t want the tannins from the stems to make my herbal soda too astringent or bitter, so I took the time to do it. From there, I combined the herbs, honey, lemon juice, and ACV in the gallon jar, added enough water to fill the jar, leaving 2-3 inches of air space at the top, and gave it a good stir to mix everything together. Next, I covered the jar with layered cheesecloth and a rubber band to keep the bugs out, and set it in a warm location (around 80° F) to ferment!

3. Let it ferment!
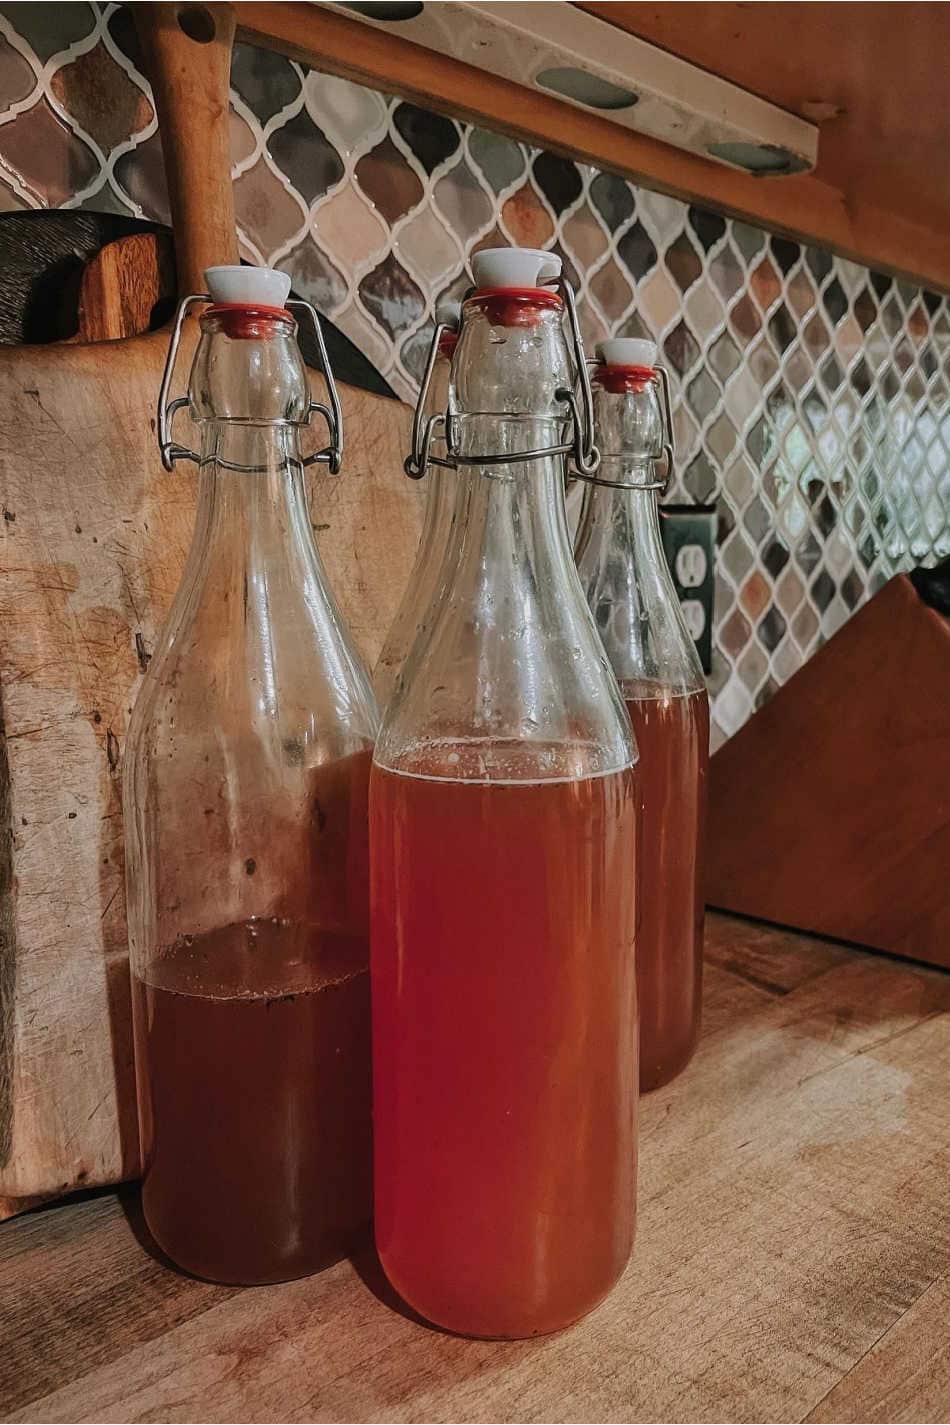
I let my herbal fermented soda sit for 2 days, stirring it daily to keep the plant material that sticks up out of the water from getting moldy. After 2 days, I strained the mixture through a fine-mesh sieve (reserving the herbs for later use – more on that below) and transferred the reserved liquid to glass flip-top bottles. These bottles are kept at room temperature to further ferment and carbonate. Pop the tops once a day to taste-test the soda to see when it’s ready for storage.
4. Move into storage!
Once I was happy with the carbonation and flavor (not too sweet, not too sour), I moved the bottles to the refrigerator to slow the fermentation process. Here, the bottles will store for 1 year, but you’ll want to pop the tops occasionally to release built-up pressure as that will still happen, albeit more slowly, in the refrigerator. From here, you can enjoy your fermented herbal sodas as often as you like!
Alright, friends! I hope you’ve enjoyed seeing how to make herbal fermented sodas. There are lots of combinations of herbs you can try depending on what you have available at the moment.
Love and light,
Meagan
I’d love to know if you’ve ever made a fermented soda before and what herbs you used in it.
PS. Use the discarded herbs to make a big batch of herbal tea before tossing them in the compost pile!
Thanks Meagan, this is awesome!! One thing – how do you know your soda is safe to drink? I’m on day 2 of mine filtered and transferred to the pop top bottles, and I didn’t feel so great after tasting some. Could be coincidence but I want to be sure. Are there any big things to look for in terms of safety?
As long as you use clean supplies, fresh herbs (that you’re not allergic to), and you’ve let it ferment long enough and at the right temperature (you should be able to see bubbles in the glass), it should have fermented properly. Sometimes, if you’re new to using fermented products, it could make your tummy feel a bit odd until you get used to it. I always recommend starting with a small amount each day and work your way up to larger amounts of ferments. As far as it being off goes, if you see mold or it smells or tastes differently than it did when it was fresh, it might be no good. You can always use a pH strip to test the liquid. Anything under 4.6 is considered acidic enough to be safe.