


I shared a reel on Instagram a week or so ago about harvesting lavender from my garden that was a bit past its prime. Yes, I kept meaning to get around to harvesting it earlier, but things kept getting in the way, and eventually, it was too late. That’s life I suppose.
So today, I’d like to not only share when and how to harvest lavender with you, but I’d like to share how I made DIY lavender sachets with this late harvest so it did go to waste. I’ll also share how I plan to get another harvest out of my lavender plants this year so I have fresh lavender to use over the next year (and what I’ll do with my current lavender stash if that doesn’t happen).
Harvesting Lavender
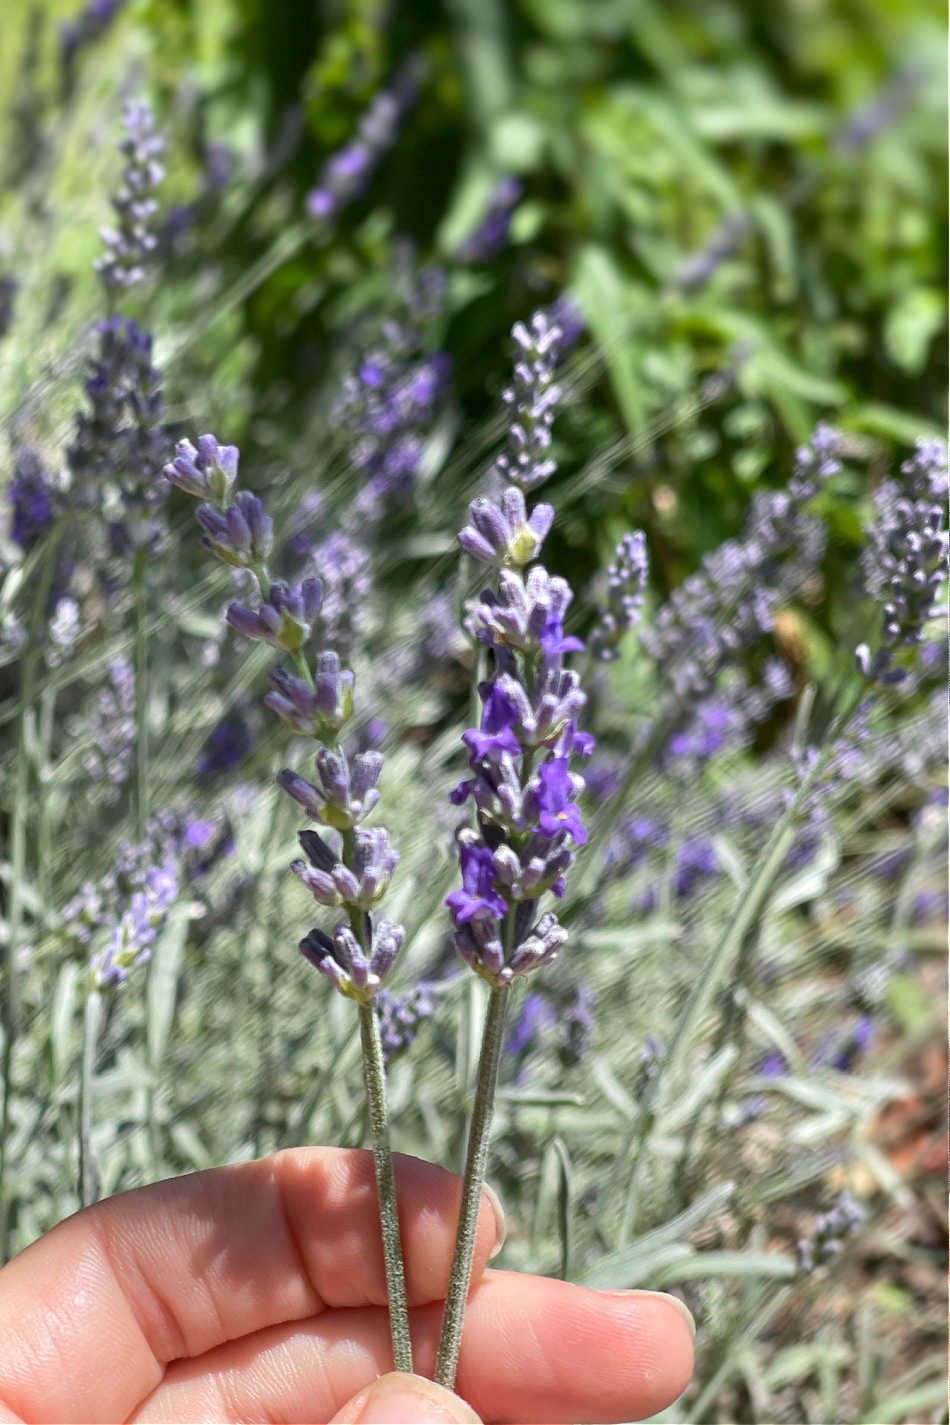
When it comes to harvesting lavender for medicinal purposes, it’s the flower bud you want because that’s where the most powerful constituents — the ones that provide most of lavender’s benefits — are held. Once the flowers have fully opened, the volatile oils can escape more easily, leaving you with less in the plant, which means any herbal preparations you make with those flower tops will be less potent than if you’d made them with the buds. Can they still be used, sure, but I’d rather gather them when they are at their prime, so that means getting them before they’ve bloomed.
To harvest lavender flower buds, you’ll want to gather them mid-morning before the heat of the day sets in. If you harvest lavender later in the day (noon or later), it will have lost a good bit of its volatile oils due to the heat. This is true for any flower or herb part high in volatile oil. They need to be harvested mid-morning, after the morning dew has dried, but before the sun is at its hottest.
Making the Most of a Late Lavender Harvest
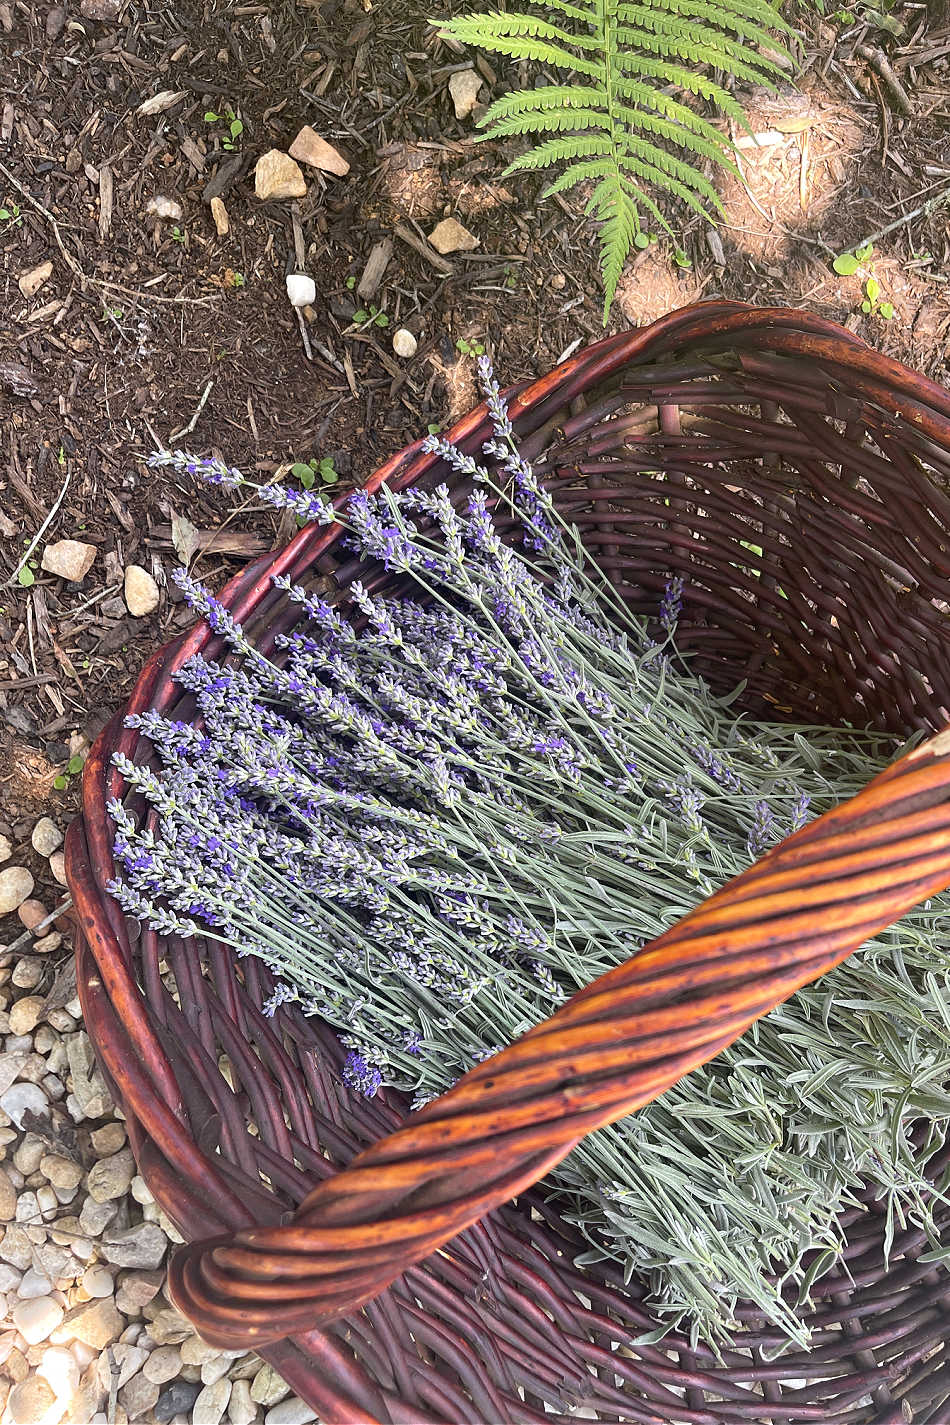
Because life got in the way, which it often does, I decided to go ahead and harvest the lavender even though some of the buds had already bloomed into flowers.
Now, if I had really needed the lavender, I could have certainly harvested it and used it in my herbal salves, teas, and tinctures throughout the year. Sure, it may not have had as much volatile oils in the tops as it would have had if I had harvested it before the buds had opened, but there’s an easy fix for that. I could have simply doubled the lavender called for in any given recipe.
Seeing how I wasn’t desperate for a large lavender harvest since I still have a good bit from last year that still smells nice and strong and still has its color (two indicators that it’s still vibrant), I decided to go ahead and harvest the bloomed lavender and make lavender sachets out of them.
This way, I not only get to make the most of this first harvest (and hopefully get a second one come autumn — more on this below), but it gives me an easy, natural way to make my home smell great.
Making Easy, DIY Lavender Sachets
Okay, so if you go watch my reel, you can see how I harvested my lavender.
Basically, you grab a bunch of the tall stems, bunch them together, and cut them below your hand with scissors. You then tie the ends of the stems together, making small bundles, and hang them to dry. This can take various amounts of time depending on where you live and the temperature in your home where you hang the bundles. I tend to leave my herbs hanging for 4-6 weeks or until I get around to garbling them for storage. If I’m drying herbs on a drying rack (usually individual flowers or leaves), I often leave them there for 1-2 weeks because they tend to dry faster that way. Because I had a lot of lavender to dry, bundling was the way to go.
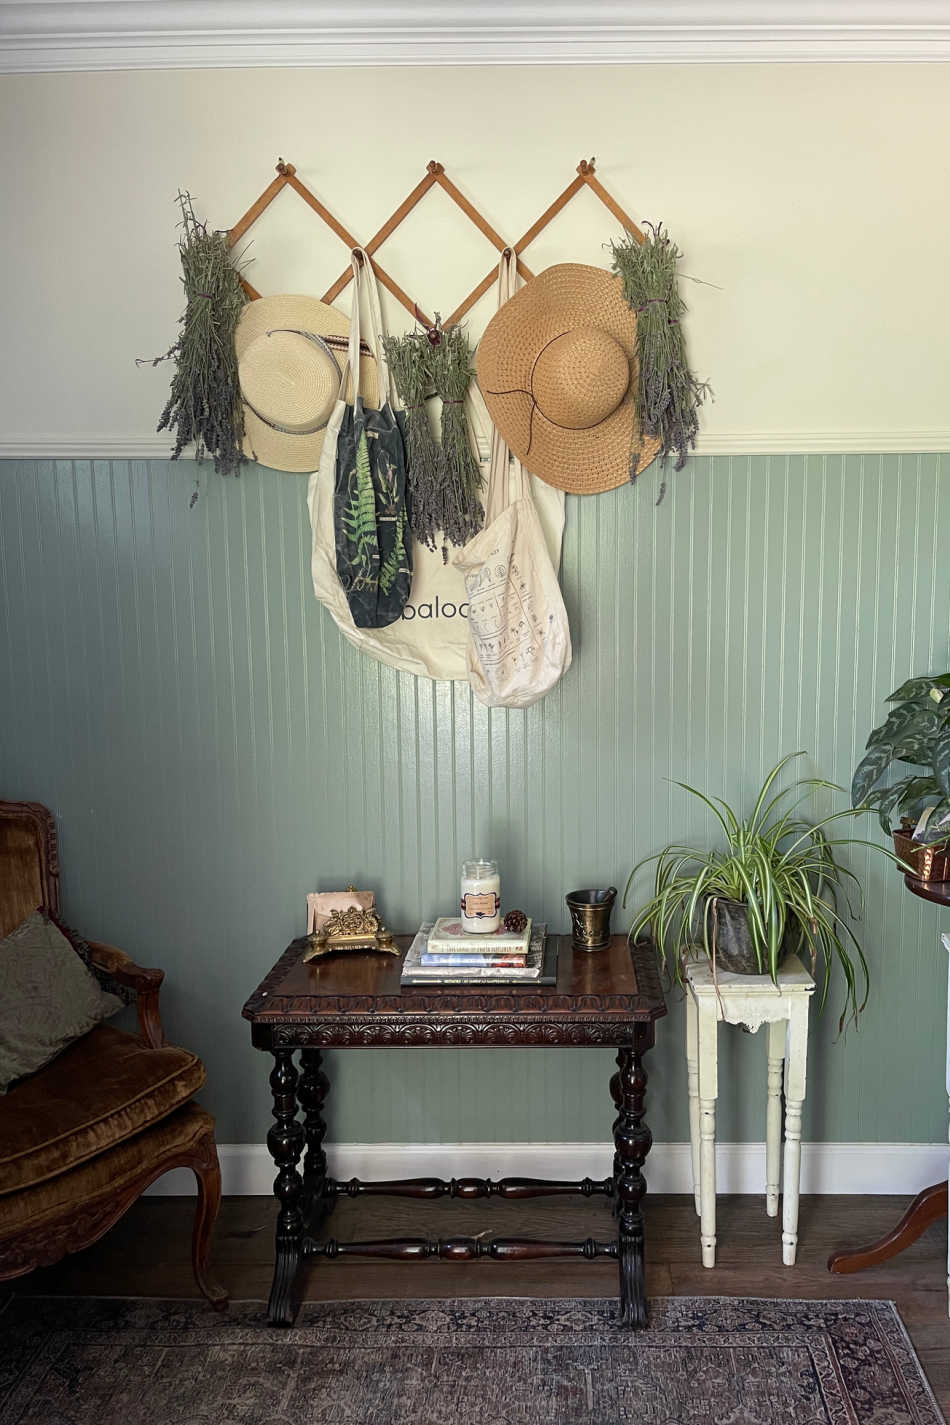
When drying any herb in bundles, you can check the plant material toward the inside of the bundles every couple of weeks to see if they’re dry. When you break it, it should snap like a dry cracker. If it doesn’t snap, it needs to dry more. If it’s moldy, it should be tossed out. Either the bundle was too thick for the air to flow around it well, or it wasn’t in a warm enough location to dry properly. No worries, though. It’s a lesson learned, and you can always try again.
Once the lavender was dry, I took the bundles down and started snipping the plant material about half an inch at a time from the top to the bottom, or until them stems got too hard to cut through. I then rubbed the bottom of the bundles together with my hands which released a good bit of leaves that were on the stems. Yes, lavender leaves have a good bit of scent (volatile oils) in them. These can be harvested and used in lavender preparations, but the flower buds is where the majority of the therapeutic effects lie.
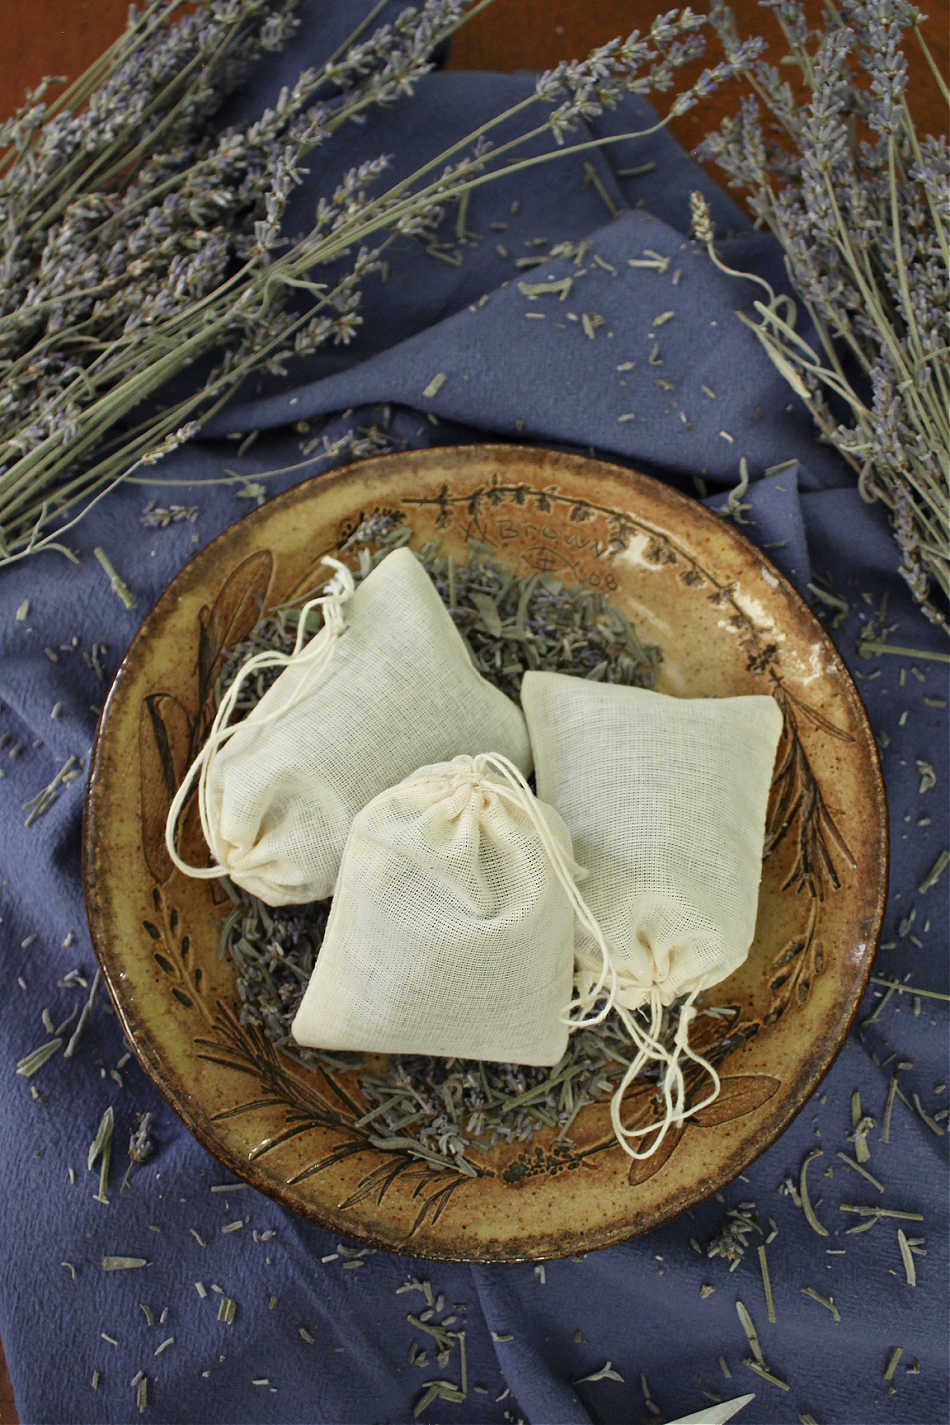
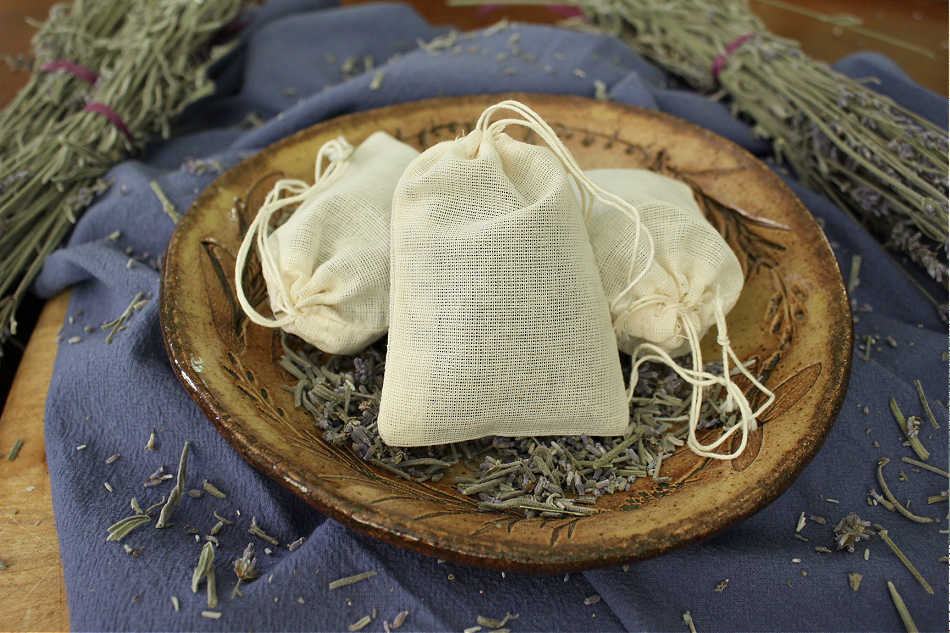
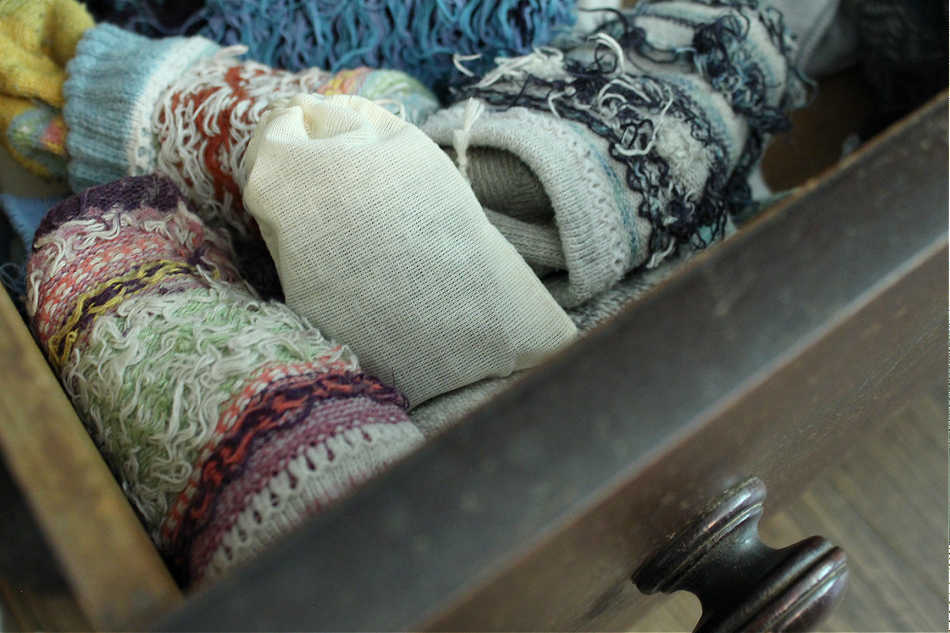
I collected everything in a bowl, and when I was done, I saved the end of the stems I didn’t use to make fire starters for the cooler months ahead and then started stuffing the cut tops and leaves into cloth muslin drawstring bags.
I placed these bags in our dresser drawers and closets to help keep them smelling nice and fresh — au natural!
Getting a Second Lavender Harvest
Now that I’ve harvested the lavender tops, I can continue to fertalize my lavender bushes once a month throughout the summer months to, hopefully, stimulate the plants to push out more lavender flower buds so I can get a second harvest come autumn. If that doesn’t happen, then I’ll simply use last year’s lavender harvest for another year, seeing how it still seems fresh and vital, and then be more on top of harvesting my lavender at the right time next year.
So what about you? Do you have lavender plants growing at home? If so, do you harvest the lavender flower buds to use throughout the year?
If you have any questions about harvesting lavender, feel free to leave them in the comments section below or send me a message here.
Love and light,
Meagan