Spring is officially here! And as much as I enjoy the season of winter, I enjoy warmer weather much more. One of my favorite things to do when the weather gets warmer is gardening. While my husband makes plans for our vegetable garden, I’m usually preparing to start an herb garden!
Living up on the mountain has put a bit of a damper on my gardening plans, though. Not only do we have less flat land than before, but we’re mostly surrounded by trees. This gives us an abundance of shade. Thankfully, I’m now at a point where I can take some time and focus on how to go about growing plants. Oh, how I long to see beautiful blooms, organic veggies, and medicinal herbs growing around my home.
Speaking of starting an herb garden… the process is much like starting any other garden. If you, like me, are interested in growing your own herbs then stick around because, today, I’m going to share 5 steps you can take to start an herb garden right now.
5 Steps to Start an Herb Garden This Year
Herb gardens can come in all shapes and sizes. You can have one large garden filled with a variety of plants. Or, you can have several smaller sized gardens with specific plants scattered around your property.
Some examples of different kinds of herb gardens you can grow are as follows.
- Gardens with plants to support the respiratory system, the immune system, or the reproductive system.
- Gardens planned around plant families such as the mint family, the sunflower family, or the rose family.
- Gardens that include plants used for specific purposes such as first aid, cold and flu, or wounds.
The choice is totally up to you!
Below, we’ll look at 5 steps you can take to successfully start an herb garden this year.
1. Plan Your Garden
The first step you’ll want to take to start an herb garden is to sit down and plan things out.
When it comes to planning, I’ve found it best to start one of two ways:
- By first deciding WHERE you want your herb garden to be located before picking your herbs, or
- By identifying WHAT kinds of herbs you want before picking your location.
Since I live in an area with various amounts of sunlight, it’s easier to first choose where I want my gardens located. After that, I can focus on choosing the herbs that grow well in those areas. However, if you have both sun and shade areas near your home, you can start by choosing the kinds of herbs you’d like to grow.
No matter how you start your planning, you should look up information (in books, seed catalogs, or websites) to find the planting requirements of each herb. Various plants require different amounts of sun and different soil needs. It’s best to check and make sure that your plants will grow well where you plant them. If you need to make adjustments in location or types of herbs, now is the time to do so.
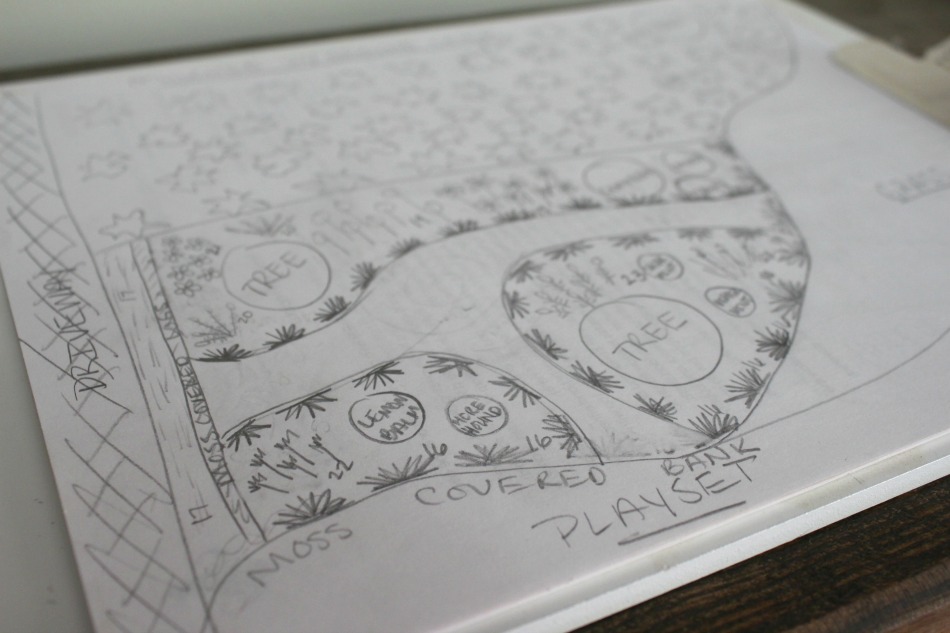
Once you know your garden’s location and the herbs you’ll be growing, it’s time to get creative. One of my favorite ways to plan any garden is to first draw everything out on paper. The first thing I do is map out the size and shape of my garden. Next, I sketch in any hardscape elements (more on this below) and herbs that will be planted. This not only gets me excited about the work ahead, but it helps me see areas that need adjusting. And it’s definitely easier to change plans on paper than it is in the garden!
Once your plans are worked out, it’s time to order seeds! There are a lot of options for companies that sell herb seeds. I’ve found it’s best to go with a company that has a good reputation and offers organic, non-GMO seeds. Two of my favorites are Mountain Rose Herbs and Strictly Medicinal Seeds (formerly Horizon Herbs). You can often find organic herb seeds in stores like Lowes or Walmart as well. Unfortunately, I’ve really only had success buying organic culinary herbs from these places.
2. Start Seeds
Once your seeds arrive, it’s time to get those babies growing! It’s recommended to start seeds indoors 4-6 weeks before the last frost date. This will ensure that your plants are big enough to go outside when warm weather arrives. Before starting your seeds, read your seed packets or look up information on the herb you’re planting. This will help you find any special instructions for starting your seeds. Some seeds need to be frozen or even nicked with a knife or file before being planted.
To start seeds, you’ll need:
- a seed starting tray
- peat pellet starting kit or a seed flat and organic seed starting soil
- plant markers
- plastic wrap
- heating mat (optional)
- grow lights (optional)
If starting seeds using peat pellets, fill your tray with enough water so the pellets fully expand and the soil is moist. Place 2-3 seeds in each pellet at the recommended depth listed on the seed package and cover with the recommended amount of soil. Be sure to use plant markers to help you remember which seeds you planted where! Once these steps are complete, simply cover your pellet tray with the lid or wrap it in plastic wrap to hold moisture and heat in. Place this in a sunny area.
If starting seeds in a seed flat, fill your tray with 2-3 inches of soil and water until the soil is moist. When your soil is ready, sprinkle your seeds across the top of the soil doing your best to disperse them evenly. To ensure even distribution of small seeds, you can mix your seeds with some sand and sprinkle it across the soil. Next, cover the seeds with the recommended amount of soil (this can be found on the back of your seed packet) and use plant markers to remind you of which seeds were sowed in the various trays and pots. Finally, wrap the tray or pot in plastic wrap to hold moisture and heat in.
Once your seeds have been started, the goal is to keep them lightly moist and warm (around 70-75 degrees). The plastic wrap covering will help with this, but you can also place the trays in a sunny location or use heat mats to keep the soil a consistent temperature. Once the seeds sprout, you can remove the lids and plastic wrap coverings and place them in an area where they get consistent sunlight during the day (special grow lights can help with this).
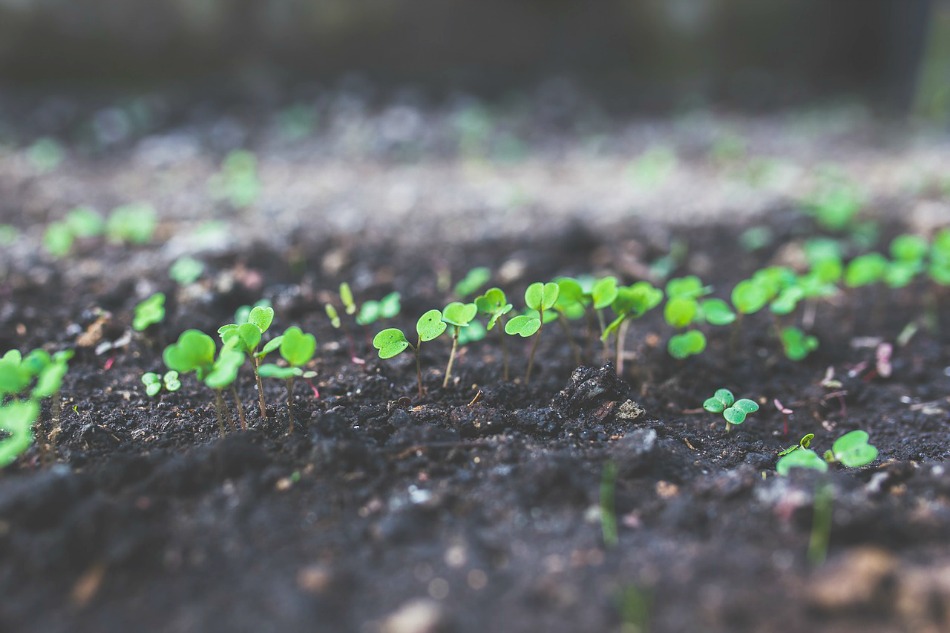
As the seedlings continue to grow, you’ll eventually need to thin them. For seedlings in peat pellets, thin until there’s only one plant in each pellet. For seedlings in seed flats, thin plants until they are 2 inches or so apart. This is to ensure that there’s sufficient nourishment and room for each plant.
Keep your plants consistently moist, warm, and in the sun until their first true leaves appear (this is usually the second set of leaves the plant produces). This will happen at different rates for different plants. At this point, you can start fertilizing your seedlings if you wish with organic fertilizers or homemade compost tea.
3. Prepare the Hardscape & Amend the Soil
As soon as your seeds start sprouting, it’s time to start preparing your garden site for planting.
Like the plants you can grow, there are a lot of garden design options you can choose from as well. One of my favorite ways to make any garden look especially nice is to add some hardscape elements. Things like rocks, clay pots, old logs, and even fencing are all hardscape elements. Not only do these items look nice, but they can be used to separate different kinds of plants from each other.
For example, you can use various planters and pots to house herbs in the mint family. Many of these plants are notorious for spreading. They can easily take over your garden, choking other plants out, if not kept confined. Other plants that creep and spread do well when surrounded by rock and logs. Climbing plants, like ivy or various rose varieties, benefit from fencing for support.
Once you have some ideas about how you want your garden to look and you’ve gathered your hardscape elements, it’s time to prepare your garden for planting.
Start by tilling the ground well. Be sure to remove any large clumps of grass and rocks. When this is done, it’s time to assess your soil. Assessing and amending soil must be done well in advance of transplanting herbs from indoors to outdoors.
3 Soil Assessments To Make
- pH
- nutrient content
- texture
Soil requirements will vary among plants. That means that it’s time to refer back to your seed packets. They will tell you what pH soil is best for your herb, but most perennial plants prefer a pH of 6.5. Soil testing kits can be purchased online or locally. These will help you see the pH your soil is currently at. If you need to increase the pH of the soil, making it more alkaline, you can amend the soil with lime. If you need to decrease the pH of the soil, making it more acidic, you can use sulfur or gypsum (Iannotti, n.d.a).
Another thing you’ll want to test your soil for its nutritional components. Soil testing kits can give you this information. They will tell you if you need to add one or more nutritional components to your soil. Many organic fertilizers will contain all three primary nutrients (nitrogen, phosphorus, and potassium). But, if you’re lacking in just one or two nutrients, you can add them in individually. Manure or fish emulsion will add nitrogen, bone meal will add phosphorus, and wood ash will add potassium (Iannotti, n.d.b).
You’ll need to decide what kind of soil texture you have. Most plants do best in what is called “sandy loam.” This is soil that packs down but easily crumbles when pressed. If your soil crumbles too easily it’s too sandy. If your soil stays packed together, it may have too much clay in it. Assess your soil texture and correct any issues by adding organic matter like compost, manure, peat moss, and other additives to give you the right kind of texture so your plants will grow well.
Once your hardscape and soil are ready and your seedlings have been hardened off, it’s time to transplant them to your outdoor herb garden.
4. Transplant Plants
Transplanting seedlings that have been started in peat pellets is probably the easiest way to result in full grown healthy plants. Transplanting seedlings that were started in flats is a little trickier. The reason is because, with a peat pellet, the plant’s roots are held securely in the mesh of the pellet. But when transplanting seedlings in seed flats, the roots can be easily damaged in the transfer. Once transplanted, the seedling often dies from what is called “transplant shock.”
Now, a week before you plan to transplant your herbs, you’ll need to harden off the plants. This helps them get acclimated to the outdoors. To harden plants, you’ll want to place them outside for an hour or so. Be sure to keep them out of direct sunlight and wind. Slowly increasing the time they spend outdoors every couple days. This will help strengthen their stems and leaves so they can withstand the elements.
Okay, back to the actual transplanting.
No matter how you started your herb seeds, transplanting can be successful if done correctly. When it’s time to transplant your seedlings, refer back to the seed packets to see how far apart each seedling should be planted. This is so it has sufficient room to grow. It’s also best to transplant seedlings in early morning or late evening to prevent water loss during this process.
Transplanting Seedlings From Peat Pellets
- Water the soil in your garden so it’s nice and moist.
- Dig a hole in the soil twice the size of your peat pot.
- Put in a small amount of worm, mushroom, or homemade compost. Set the peat pot direction on top of the compost.
- Cover the peat pot with the soil you removed while digging the hole. Firmly pack the soil down so that it supports the stem of the plant. You’ll want to cover 1/2 inch of the stem in this process.
- Once all of your seedlings have been transplanted, water the soil until moist.
Transplanting Seedlings From A Seed Flat
- Water the soil in your garden so it’s nice and moist.
- Lightly water the soil in the seed flat, and carefully pack the soil down around the plants to stabilize them.
- Estimate the size of your seedling’s roots. Dig a hole in the soil of your garden twice the size of the roots.
- Put in a small amount of worm, mushroom, or homemade compost into the hole.
- Use a spoon to scoop each individual plant out, being careful to not damage the root system as you do. It’s helpful to scoop an inch away from the stem of the plant to avoid breaking roots. It can also help to gently pinch the base of the plant stem during transfer. This will help to stabilize the seedling as it’s being moved. Place your seedling on top of the compost.
- Cover the seedling with the soil you removed while digging the hole. Firmly pack the soil down so it supports the stem of the plant. You’ll want to cover 1/2 inch of the stem in this process.
- Once all of your seedlings have been transplanted, water the soil until moist.
5. Nourish Your Plants
Once your plants are transplanted and watered, the only thing left to do is to keep them nourished over the coming weeks.
One of the most important things you need to do is regularly water your plants. This is especially important if it’s hot and dry in the area where you live. It’s best to water plants in early morning or late evening when the sun is not at its strongest. It’s also a good idea to water the ground as opposed to the leaves. Ultimately, the goal is to keep the top inch of soil moist at all times.
It’s also helpful to fertilize your plants to give them extra nutrition while they’re growing. You can do this by working extra compost, fish emulsion, or an organic 12-12-12 fertilizer around the plant. Experts recommend doing this a couple times during the growing season. You can also spray the plants with compost tea to give them a boost as well (Everything You Need To Know About Organic Fertilizer, 2017).
Be patient and, in a few months, you will have an herb garden that will add beauty to your home and health and support to your family!
If you’ve enjoyed this post, please share this post on Facebook and pin it to your Pinterest boards for safe keeping! I appreciate your help in spreading the word bout Growing Up Herbal!
REFERENCES:
- Everything You Need To Know About Organic Fertilizer. (2017, March 10). Retrieved March 14, 2017, from http://www.rodalesorganiclife.com/garden/organic-fertilizer
- Iannotti, M. (n.d.a). What is Soil pH and Why does it Matter in the Garden? Retrieved March 16, 2017, from https://www.thespruce.com/soil-ph-1402462
- Iannotti, M. (n.d.b). Why Is Good Garden Soil So Important? Retrieved March 16, 2017, from https://www.thespruce.com/making-good-soil-out-of-bad-1402428
5
Definitely started my seeds with peat pellet too! Excellent article, Megan. Secret of mine I sprinkle Epsom salt for a larger roots system. Happy Gardening! Don’t forget to save those eggs shells for your tomatoes plant, prevents blossoms rots on your tomatoes..
Thanks for sharing your tips, Monica!!
4