Ezrah was around 4 months old when I noticed it. Small patches of dry, flaky skin on the outside of his thighs and calves. Just one small, roundish spot on the top and bottom of each leg.
Was it dry skin? Was it eczema?
Seeing as how my kids didn’t have allergies and their gut was in good health (as far as I could tell) I wrote it off as dry skin, but in the back of my mind I wondered if it was baby eczema. I mean… it looked like eczema. Pink, flaky skin in round patches. At least it looked like the same thing my third little guy (Uriah) had when he was a baby.
Of course some people will say that a bit of eczema in babies is normal and no big deal. WebMD says that eczema shows up in 10 – 15% of babies and is caused when the body makes too few ceramides (fatty cells that protect the skin). The more I looked into baby eczema, the more confused I was. It looked like eczema, but the risks of eczema didn’t fit for him. It wasn’t winter and the air wasn’t dry, I wasn’t over-bathing him, we use all natural skincare products so chemical irritants wouldn’t apply, I hadn’t introduced solids to him yet, and allergies don’t run in our family. Maybe it was just dry skin after all??
After coming up empty handed for a “mommy diagnosis,” I decided that since it wasn’t bothering him I’d leave it alone and let it go away on its own just like it had with Uriah.
Unfortunately it didn’t go away. Ezrah was 6 months old, and it was still there! It wasn’t any worse, it was in the same places as before, and it still wasn’t bothering him, but it got me to wondering if there was anything I could be doing for it… especially if there was a chance that it really was just dry skin and not eczema at all.
I decided that I’d make something to put on the patches and see if it did any good. So I got my research hat on and hit the web and my skincare books to find the best ingredients to use. After much formulating and reformulating I finally settled on a recipe for the perfect cream to nourish dry skin. I got busy making it and immediately using it on my little guy.
I started by putting it only on the patches with each diaper change. Much to my surprise, the patches were getting softer and not as red after a week of using it. I kept applying it daily with each diaper change, but I also used it all over his legs after his baths. Seeing as how I don’t bathe my kiddos every single day, this amounted to getting his legs coated 2-3 times a week. Slowly the patches got less red, finally turning the same color as his skin. They began to flake less and started to get smaller in diameter. After a month of using this new skin cream as consistently as possible, the red, dry patches were gone. GONE!
So today I want to share this recipe with you in case you, like me, have a baby with dry skin or baby eczema. Maybe you have a child with full blown eczema that you think this would help, or maybe you have dry skin or are pregnant and looking for a great cream for your belly to help reduce your chances of stretch marks. No matter… if you need a dry skin cream… this one is amazing. Seriously. It’s amazing.
Skincare Ingredients Matter
Now before I give you the recipe, I have to tell you about the ingredients because they matter. Sure you can throw some oils and liquids together and make a cream, but if you want your cream to be the real deal and give you real results, you MUST start with quality ingredients that are specifically chosen to help you meet the goals you have for your product.
Goals? For a DIY, homemade skincare product? Of course!!
Anytime I sit down to formulate a recipe, a lot of research goes into the best herbs, oils, butters, liquids, and essential oils to use so that my product will actually do what I need it to do. If you want a good product you have to put the effort and work into making it great. That means you need to find the right kind of ingredients for your product and you need to make sure those ingredients are high quality ones.
OIL, CREAM, OR LOTION
I knew that I wanted to make a cream so that it would sit on top of the skin and absorb slowly. You can learn more about the differences in oils, creams, and lotions here. Because I was making a cream I needed oils, liquids, and an emulsifier. I like my creams nice and silky so a small amount of butter was a must as well.
HERBS
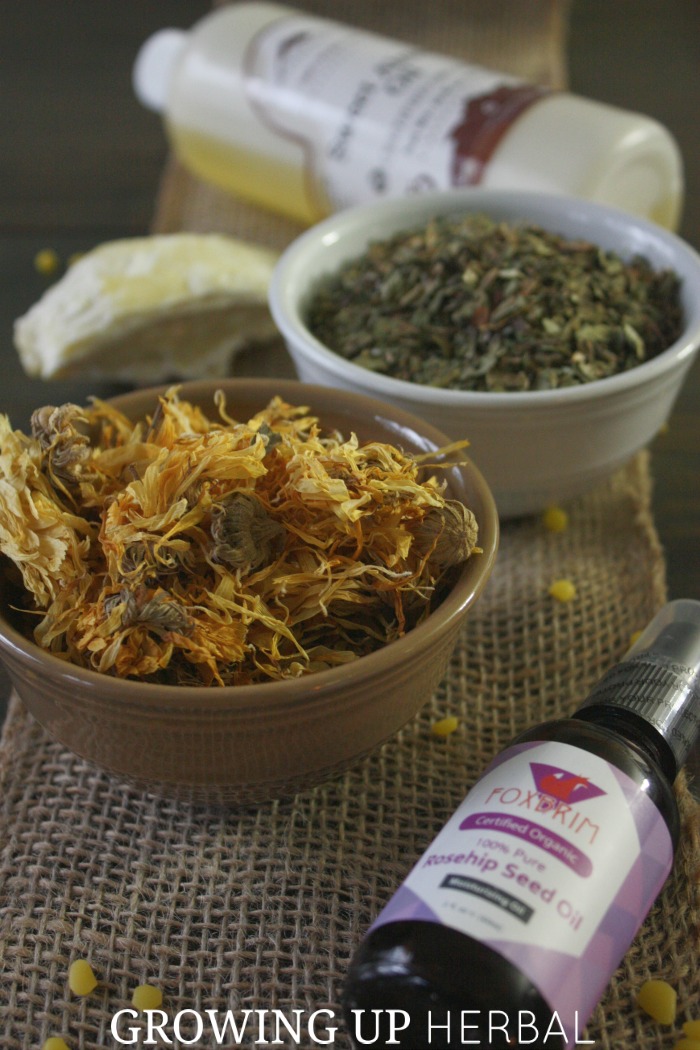
I almost always include herbs in my skincare products because they have such amazing properties that I want to end up in my final product. Being an herbalist I already knew that I wanted to add in the healing properties of calendula, chamomile, and comfrey into my formula. Calendula is well-known for its anti-inflammatory properties as is chamomile, and comfrey is used to stimulate cell growth. (Preethi, 2009) (Koll, 2004) You can learn more about the wonders of calendula in the 2014 calendula herb challenge!
I decided to infuse the calendula and comfrey into my liquid oils and use a German chamomile hydrosol as the liquid portion of the cream. I chose German chamomile because it’s associated with more anti-inflammatory uses whereas Roman chamomile is used more for insomnia and stress. (Graf, 2000)
CARRIER OILS
Quite often, my go to carrier oil is either coconut oil or sweet almond oil, but I wanted to find some oils that were specific for dry, damaged skin for this particular cream. After researching some new oils that I don’t use all that often I settled on rosehip seed oil and tamanu oil. Both of these oils are great, and they’re used with good results for dry skin issues like psoriasis and eczema.
Rosehip seed oil would be the primary oil in my formula because it’s high in essential fatty acids, vitamins c & a, and beta-carotene. It’s the perfect oil to nourish dry skin and has been shown in scientific studies to have antioxidative and antiinflammatory effects on the skin. (Chrubasik, 2008) It’s considered a “dry” oil because it soaks into the skin quickly and doesn’t leave a greasy feeling which is great for a cream that you want to really soak into the skin.
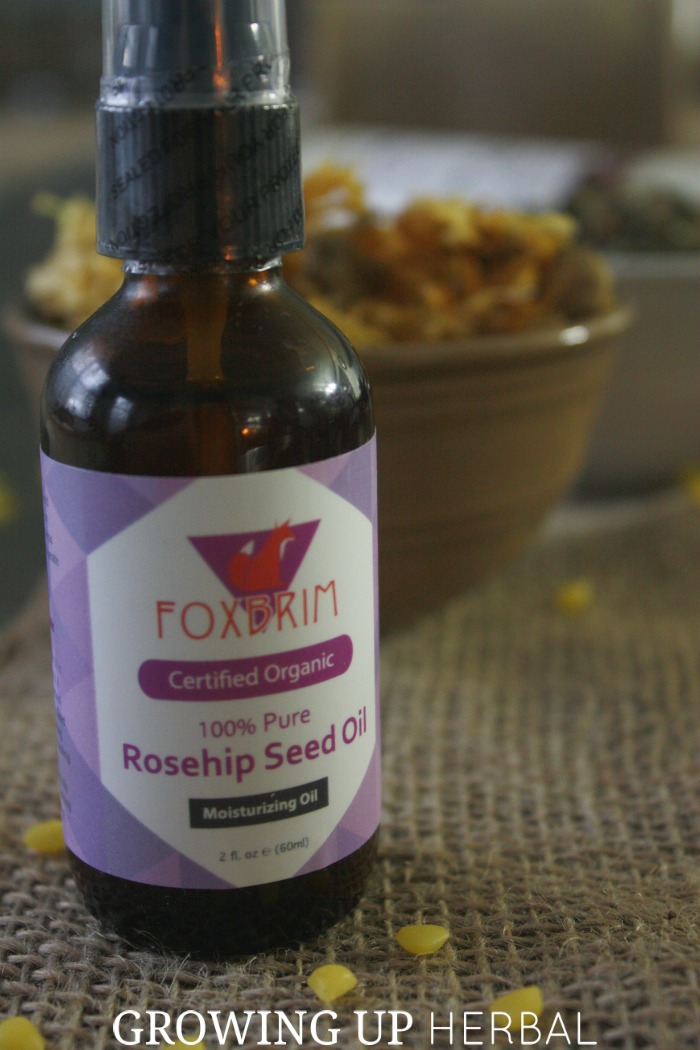
Rosehip seed oil is a delicate oil. When purchasing it, look for a cold-pressed oil that comes in a dark bottle as light will cause it to go rancid faster. It also needs to be refrigerated and not exposed to much heat at all. Like I said, it’s delicate, but it’s worth the extra effort. I used rosehip seed oil from Foxbrim. Their rosehip seed oil is organic and isn’t tested on animals. They have fast shipping and a lifetime guarantee on everything they offer. Plus, rosehip seed oil pairs extremely well with the next oil in my formula. Tamanu oil.
Tamanu oil has analgesic, antibacterial, anti-inflammatory, and wound healing properties and is used in formulas that are specific to damaged skin. (Dweck, 2002) I only used a small amount of this oil in the formula to give it an extra boost since there was a good amount of rosehip seed oil already being used.
ESSENTIAL OILS
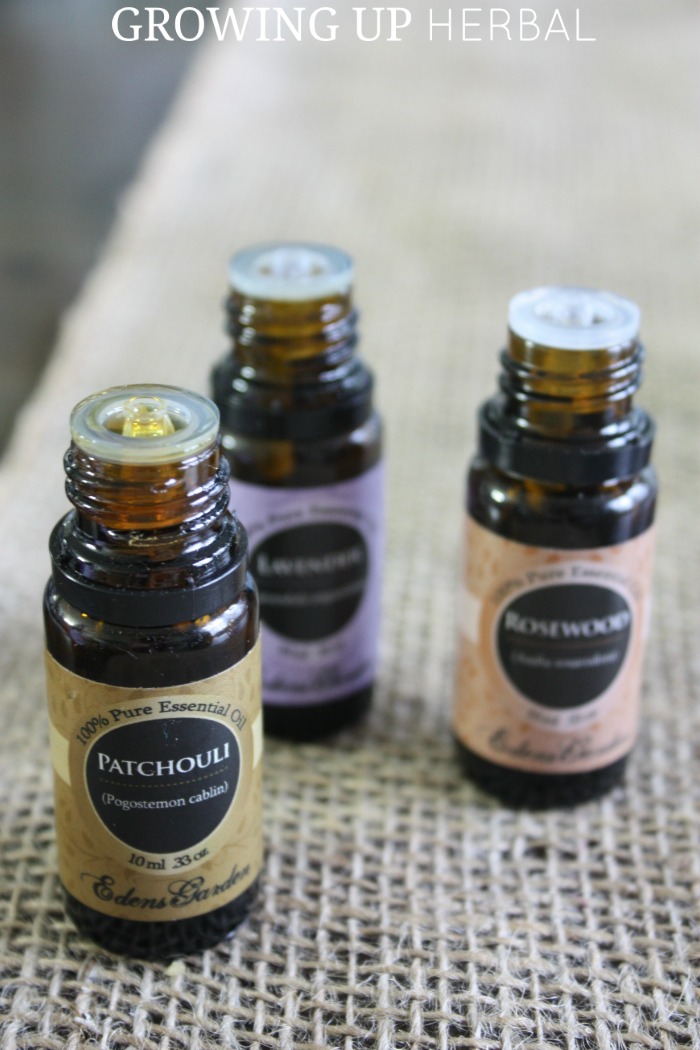
The last thing I looked into was essential oils that would be beneficial for dry skin. Thankfully I didn’t have to look too far as I’d already found a blend I liked when I was pregnant with Ezrah when I’d made a belly cream for my itchy preggo belly. Lavender, rosewood, and patchouli essential oils are great for dry skin. I planned to blend them together and use it at a 2% dilution in this cream since it is more therapeutic than not. Just to be sure I was erring on the side of safety, I double checked the safety of these oils and the dilution rate with some aromatherapists online and was given the green light.
Okay, so now that you know why I chose the ingredients I did, if you want to get similar results be sure you stick with these ingredients! They create an awesome end product and work well together.
Now… for the recipe.
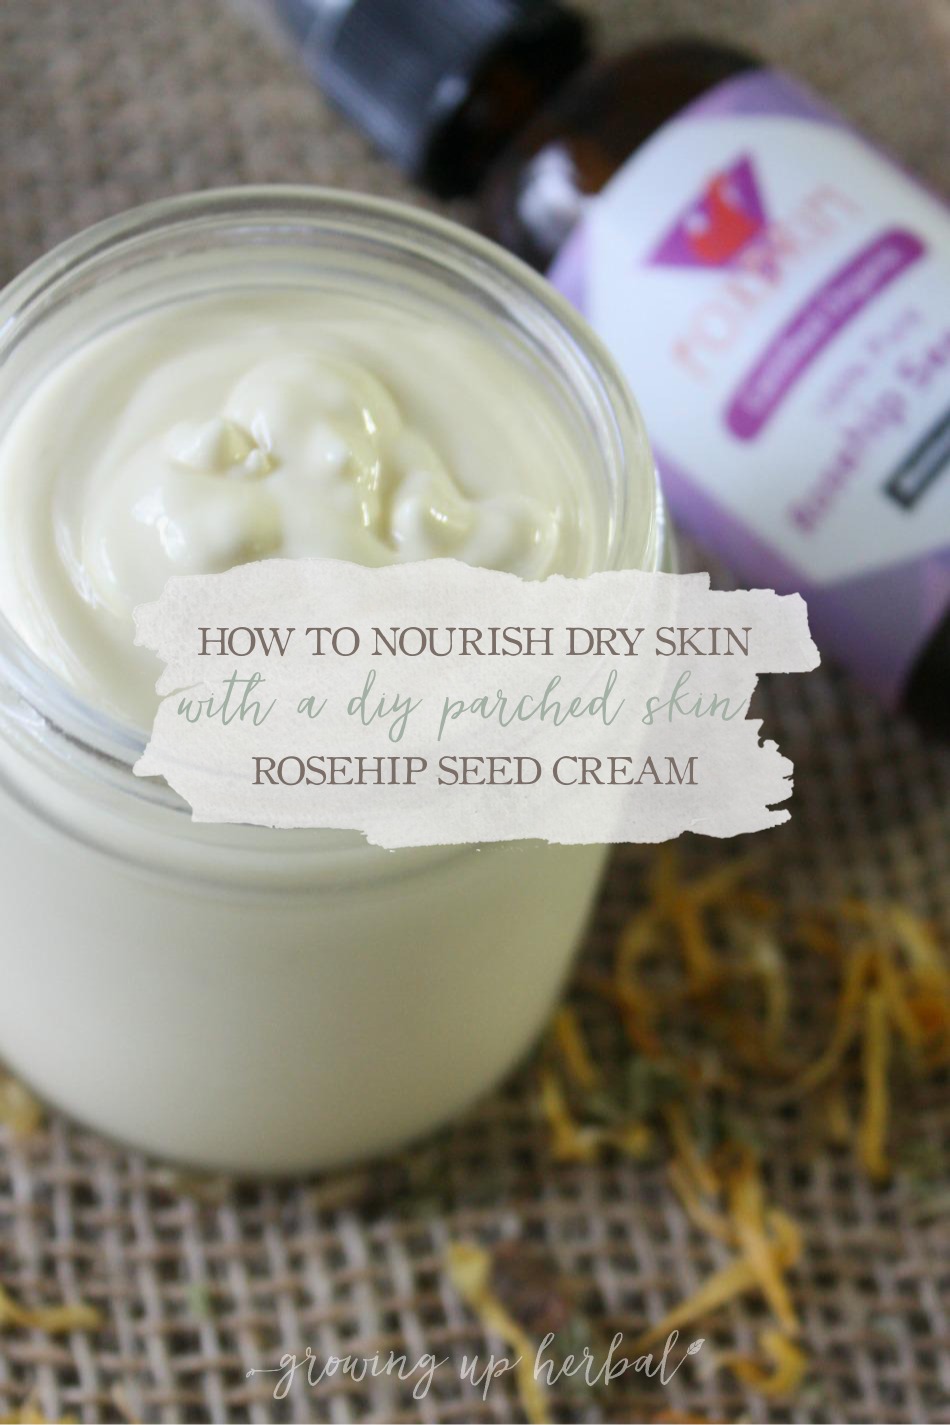
Parched Skin Rosehip Seed Cream
Ingredients:
- 3 tsp. cocoa butter
- 4 tsp. beeswax
- 1/8 c. coconut oil
- 1/8 c. sweet almond oil
- 1/8 c. + 2 tsp. rosehip seed oil
- 2 tsp. tamanu oil
- 1 tsp. calendula flowers
- 1 tsp. comfrey leaf
- 3-4 oz. german chamomile hydrosol
- 24 drops rosewood essential oil
- 15 drops lavender essential oil
- 9 drops patchouli essential oil
Directions:
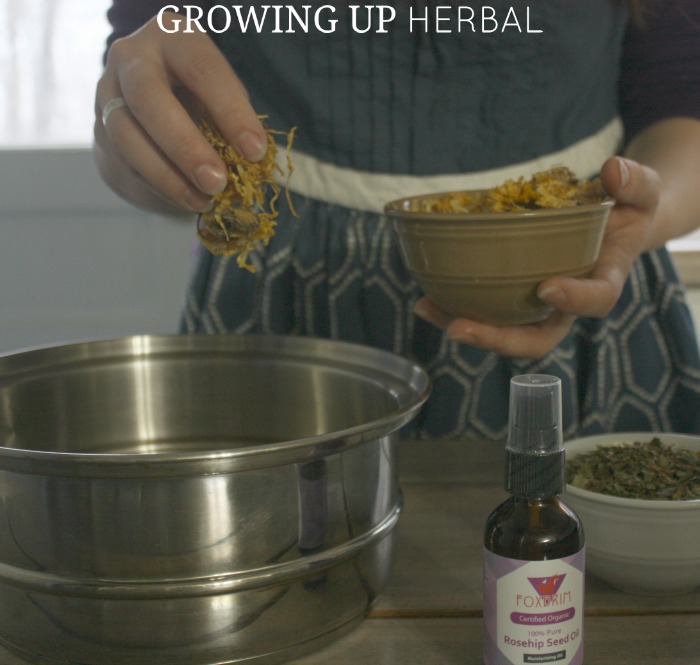
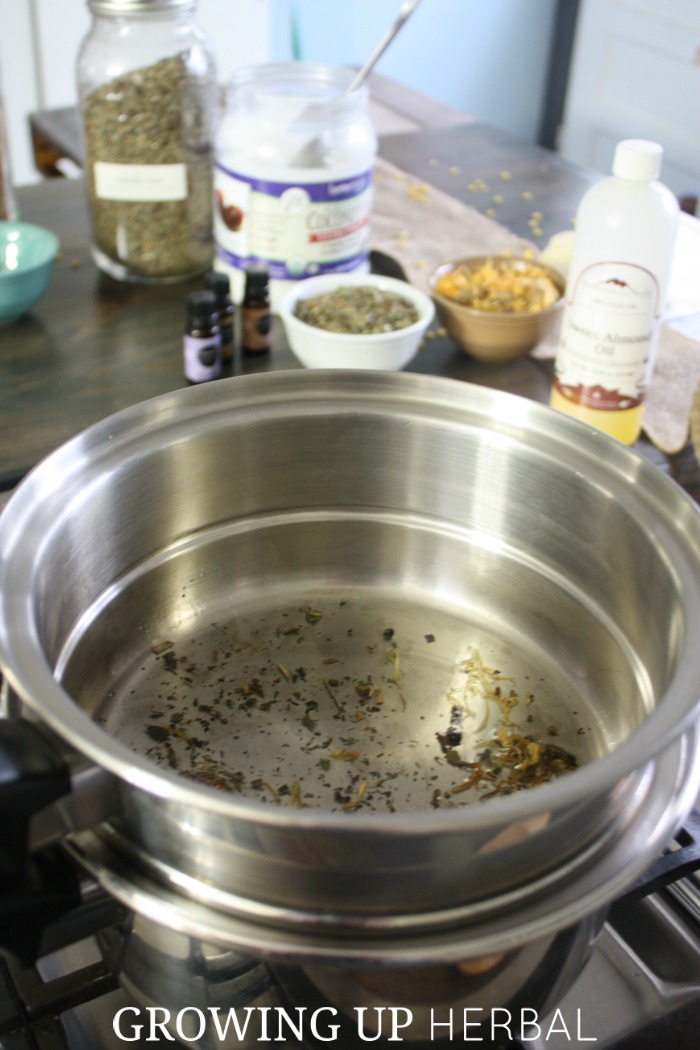
Combine coconut oil, sweet almond oil, and herbs in a double boiler. Allow the oils to melt and mix with herbs. Heat for 1 hour making sure your oil and herbs don’t boil. (Detailed instructions on how to make herbal infused oils can be found here.) Let your chamomile hydrosol sit out on the counter and warm up to room temperature.
Strain herbs from oil using a stainless steel strainer and paper towel. While herbs are straining, wipe saucepan out well. Once herbs are strained, compost herbs. Set infused oil aside.
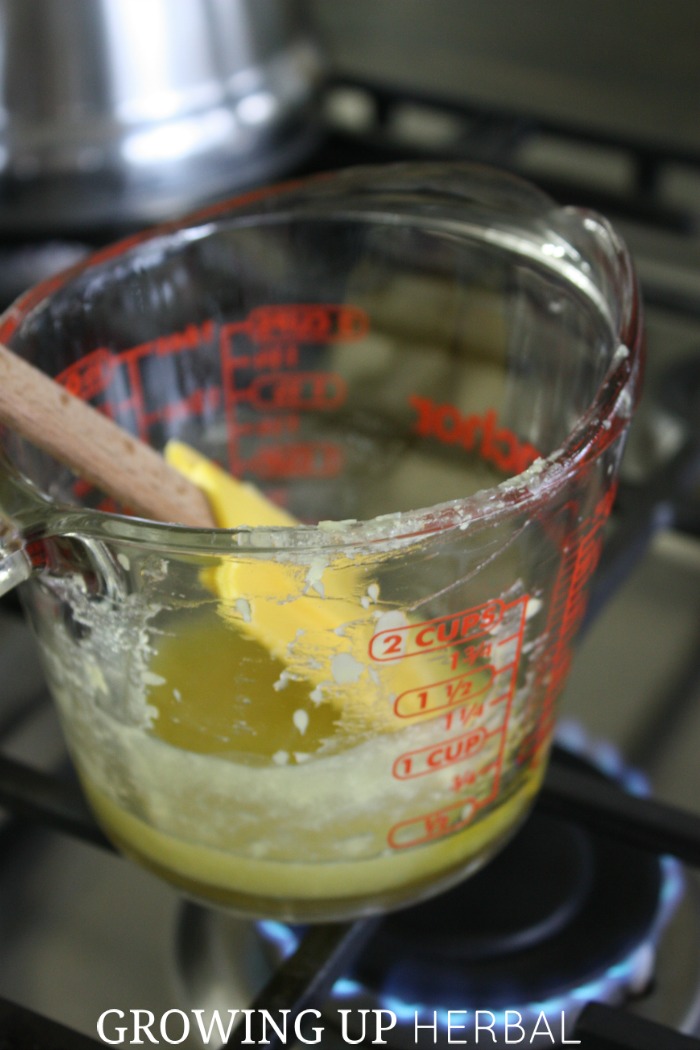
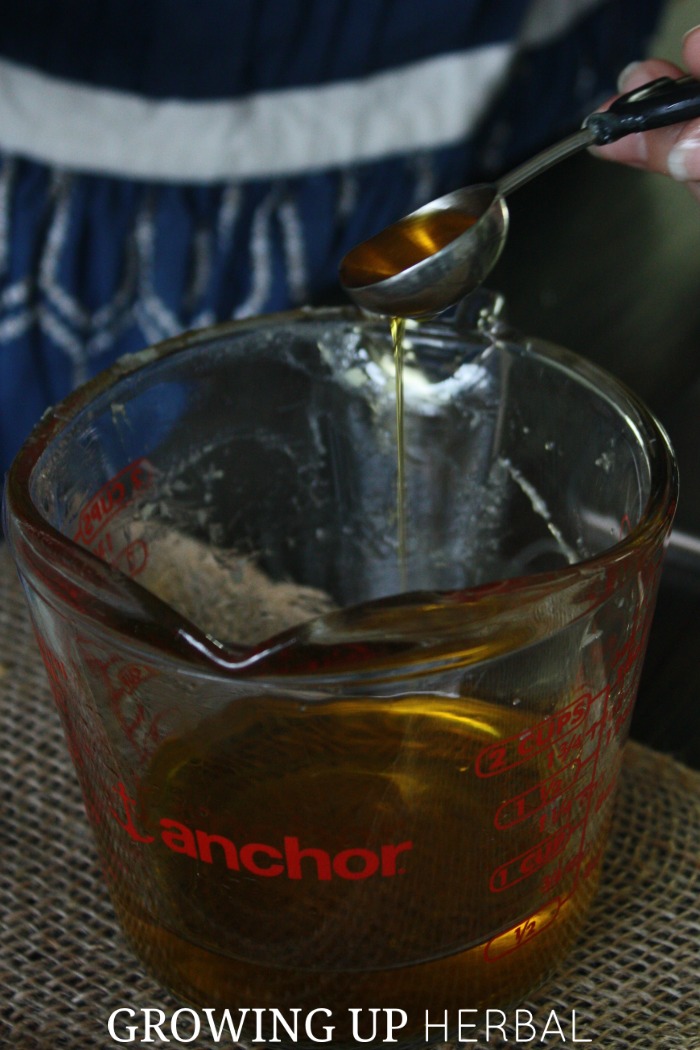
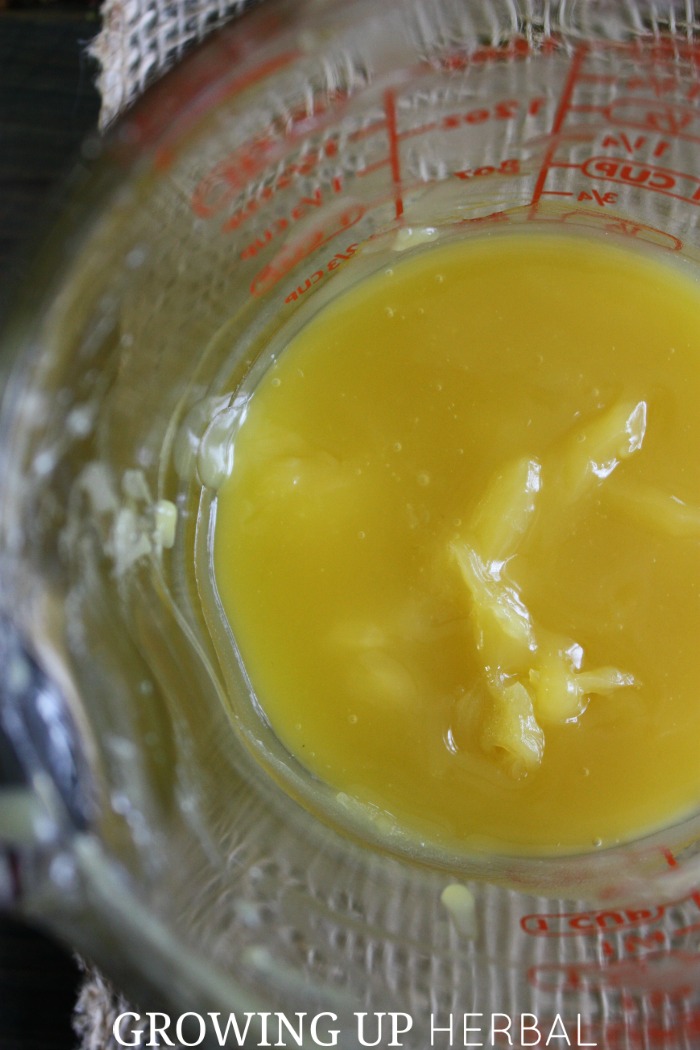
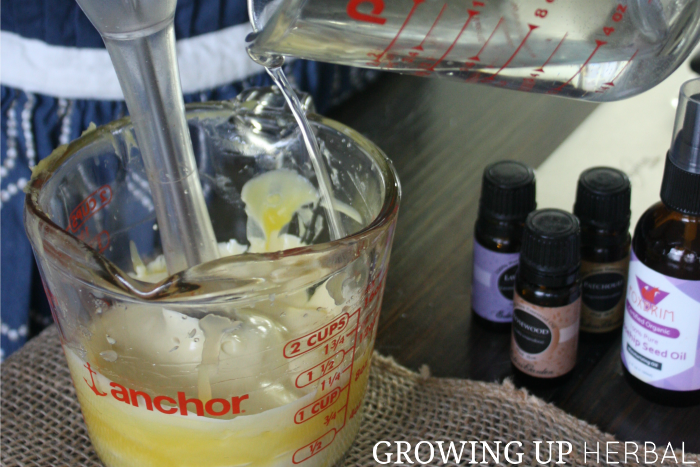
Combine cocoa butter and beeswax in cleaned saucepan and melt over low heat. Once melted, remove from heat and combine with herbal infused oil. As you can see from the photo above, once I combined my butter and beeswax with my herbal oil they started solidifying before they were completely mixed so I quickly put my glass measuring cup over some low heat to melt them together a bit more. Once combined, add in rose hip seed oil and tamanu oil. Mix well.
Let mixture sit until it cools and starts to thicken (glass will be warm to the touch). Once it begins to thicken, use an immersion blender to mix oils on low speed. Slowly pour in room temperature hydrosol while continuing to blend on low. You’ll notice the mixture will turn white and creamy. Once all the hydrosol has been added blend for 30 seconds more to mix well.
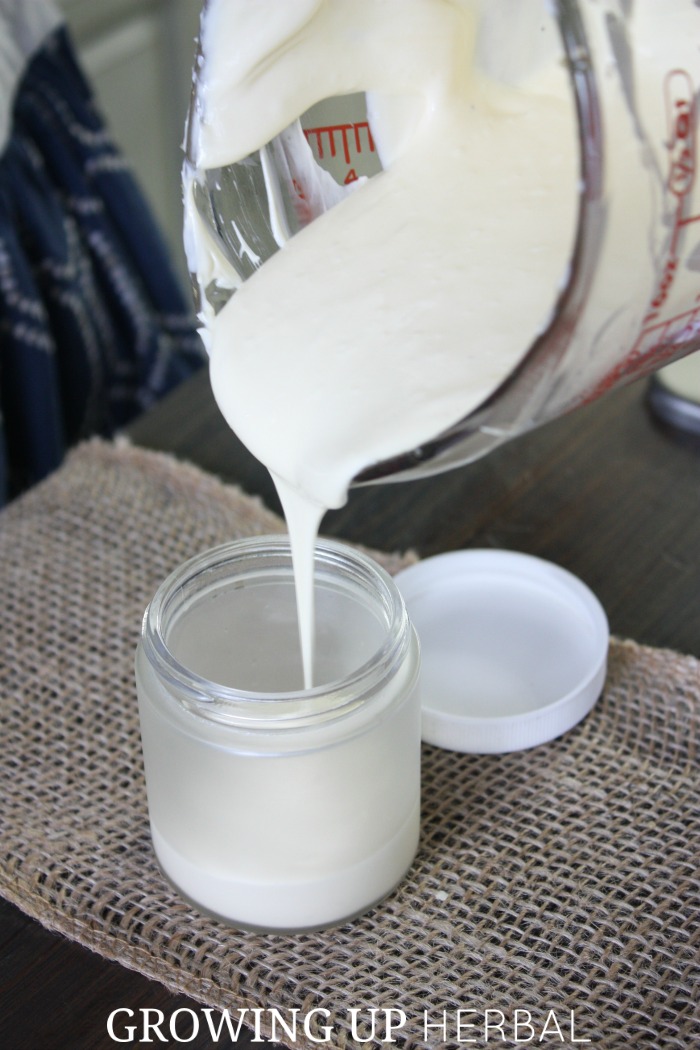
Stop blender and add in essential oils. Blend for 30 seconds more before bottling in glass jar. Don’t forget to label!! Cream will be runny at this point because it’s still warm. It will continue to firm up more as it cools in the jar.
To Use:
This cream is PERFECT for dry, thirsty skin. It’s best to use it immediately after a bath as a way to hold moisture into the skin, but it can be used anytime skin feels tight and itchy or dry spots appear. It also makes a great facial cream for mamas that can be applied to a cleaned face before bed.
Want Me To Formulate A Product For You?
Did you know that you can hire me to formulate an herbal skincare or medicinal product for you? Yeah! You totally can! It’s right here on my “Work With Me” page.
I’ve been making skincare products and herbal medicinals for around 10 years now. I had a lot of success selling my skincare products in my Etsy shop, and herbal remedies are a part of my families daily lives. Plus, my studies at the Herbal Academy of New England have definitely helped my formulation skills and understanding how to match herbs to people.
If you’re a business owner that makes and sells skincare or herbal medicinal products or a mom looking for something specific that you can’t already find online, contact me, tell me what you need, and we’ll talk the details out via email! Keep in mind that I only take on 2-3 custom formulations a month. I want to take my time and make them great so I don’t overbook. Hope to hear from you soon!
Thanks for reading, and be sure you pin this post to your DIY skincare Pinterest boards to save the recipe for later!
REFERENCES:
- http://www.webmd.com/parenting/baby-eczema-questions-answers
- Preethi, K. C., Kuttan, G., & Kuttan, R. (2009). Anti-inflammatory activity of flower extract of Calendula officinalis Linn. and its possible mechanism of action.
- Graf, J. (2000). Herbal anti-inflammatory agents for skin disease. Skin Therapy Lett, 5(4), 3-5.
- Koll, R., Buhr, M., Dieter, R., Pabst, H., Predel, H. G., Petrowicz, O., … & Staiger, C. (2004). Efficacy and tolerance of a comfrey root extract (Extr. Rad. Symphyti) in the treatment of ankle distorsions: results of a multicenter, randomized, placebo-controlled, double-blind study. Phytomedicine, 11(6), 470-477.
- Chrubasik, C., Roufogalis, B. D., Müller‐Ladner, U., & Chrubasik, S. (2008). A systematic review on the Rosa canina effect and efficacy profiles. Phytotherapy research, 22(6), 725-733.
- Dweck, A. C., & Meadows, T. (2002). Tamanu (Calophyllum inophyllum)–the African, Asian, Polynesian and Pacific Panacea. International journal of cosmetic science, 24(6), 341-348.
I will be saving this for sure. My baby (Uriah) has the same thing on his legs. I will have to try this and see what happens! Thanks for sharing!
I hope it helps you as much as it did us! Thanks for your comment Naomi!
I really appreciate the detail of your research and will be making this cream asap (my daughter and I both suffer with eczema and dry skin, particularly bad on hands so a cream that will sink in well sounds perfect) – thank you so much for taking the time to share this with others! Cheers, Jo 🙂
You are very welcome Jo, and I hope this cream helps you and your little one! Thanks for your comment!
Can I use camphor oil instead of camphor leaves?
I’m sorry Kathyrine. I’m not seeing anything about camphor in this post? Can you clarify your question?
What is the shelf life for this cream?
thanks
Most all creams last around 3-6 months when unused and refrigerated and once you take it out of the fridge and start using it the shelf-life drops to about 30 days. Of course that’s not a hard and fast rule, it’s just an estimate. The shelf-life of a cream can be extended when you use “natural” preservatives, but this recipe doesn’t have any except for the essential oils.
I use foderma on my 7 months old’s face. He doesn’t have eczema but it keeps his complexion pristine! Many have complimented how clear his skin is and this is why. Any minor bumps, irritation and even baby acne are cleared up shortly after applying! Thick and odorless. I use it on his face even near his eyes with no problems.
Interesting, Krystal. I’ve heard good things about that product! I’m glad it’s been helpful to you! Thanks for sharing!
I love this cream. I used floral water that had preservatives in it. If I were to add a preservative, would I base the amount on the water portion only or on the total amount of ingredients? Thanks.
Oh, man. I don’t know much about how to add preservatives to products as I usually make them without preservatives and in small batches. With that said, the Herbal Academy has a great workshop on using emulsifiers and natural preservatives in skin care products that I’m sure you’d find very helpful. Sorry I couldn’t be of more help! Best of luck!