Today I have a fun, all natural DIY home decor project to share with you.
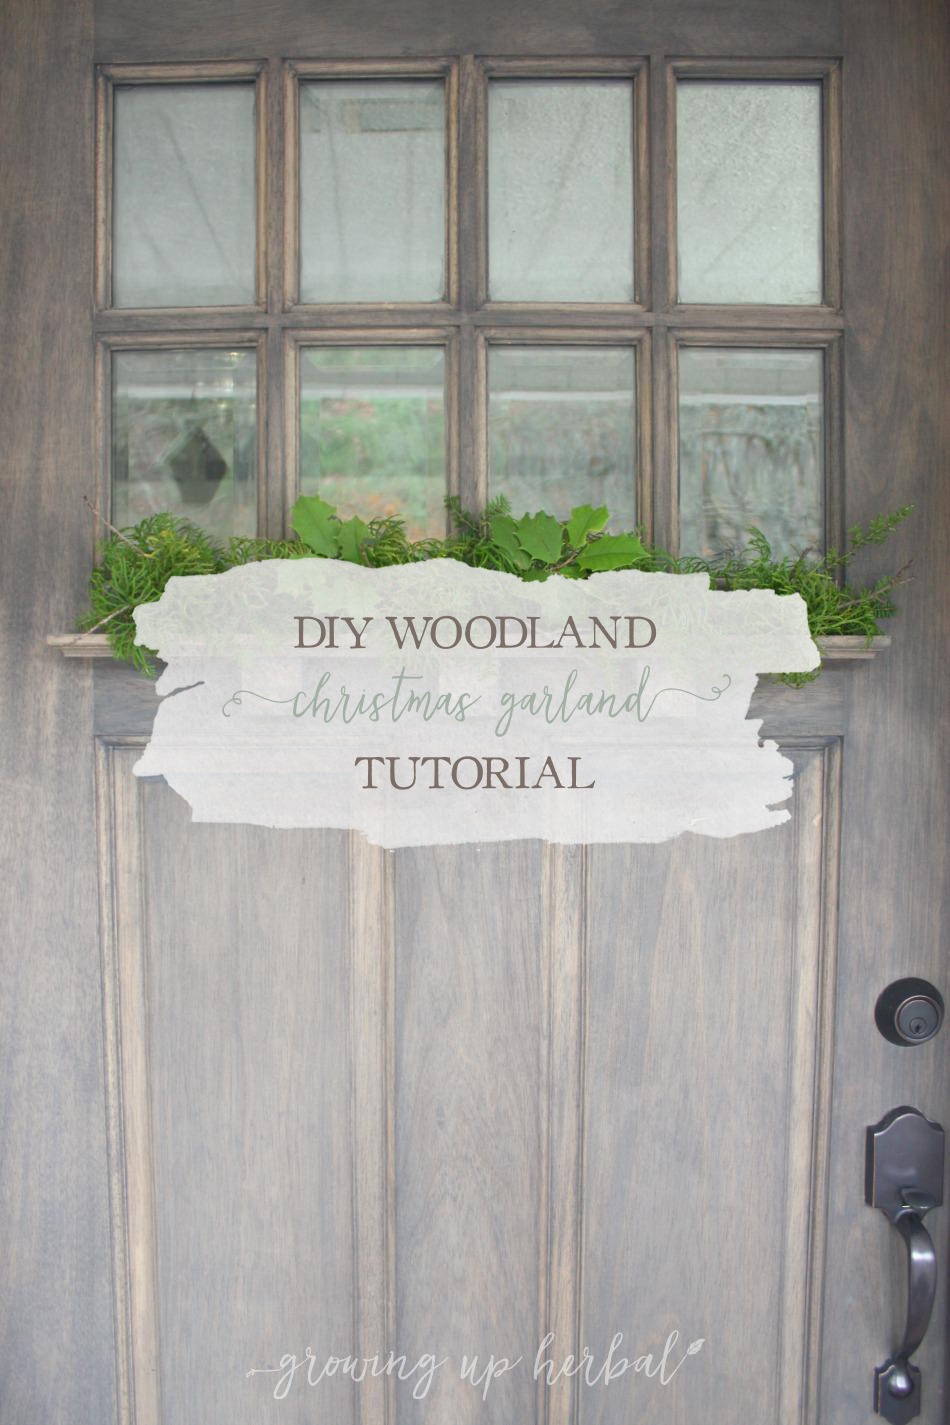
It’s for a DIY Woodland Christmas Garland for my front door which is something I’ve been wanting to do for a while.
Today I’m taking you along with me and my kiddos, into the woods, where we’ll find natural supplies to make this garland before heading home to put it all together and hang on the front door.
House Projects
As you know, my husband and I have been working on the outside of our house this fall updating the siding, painting the house and our wrap-around deck, and replacing all of our windows. Part of the project was to get a new front door.
The old front door was a solid, metal door, and we’ve had our eye on some custom wood doors we found on Craigslist for a while. After visiting the local factory, we decided to go for it and have a custom front door built for our home.
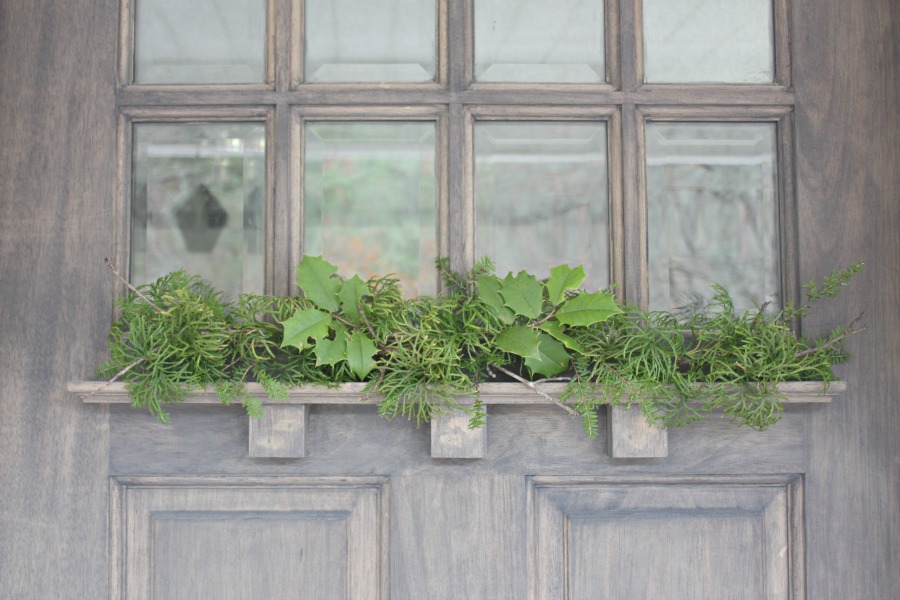
Our door has eight small square panes at the top with a small wooden shelf right below it. I’d seen a door like it before on a finished house, and I loved it! It was different from the typical door, and I knew I could decorate the shelf year round. Not only that, but it fits in perfectly with our home’s rustic, woodland style.
DIY Woodland Christmas Garland Tutorial
Supplies:
- bags for gathering
- pruning shears or sharp scissors (like these)
- natural elements: small pine branches, moss covered sticks, pine cones, small holly branches, red berries, bits of rock moss
- floral wire (like this)
Step 1:
Adventure outside and gather natural elements.
When I told the boys what we were doing, they were super excited. They grabbed their bags, coats, and shoes and were ready to go. I told them what we were looking for and sent them off in search of natural elements we could use in our garland.
When you’re out gathering supplies, you’re going to want to gather a lot of whatever will be the majority (or base) of your garland. Everything else will simply fill in the gaps or add depth to the garland.
After 30 minutes or so, we headed back into the house to put everything together.
Step 2:
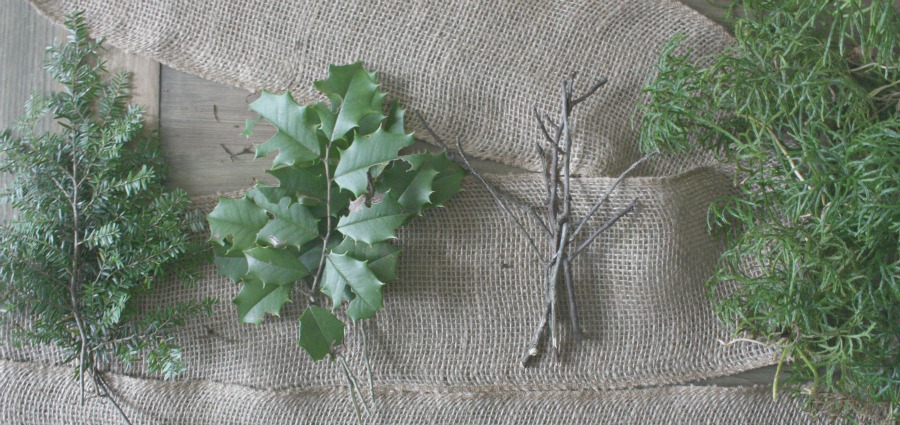
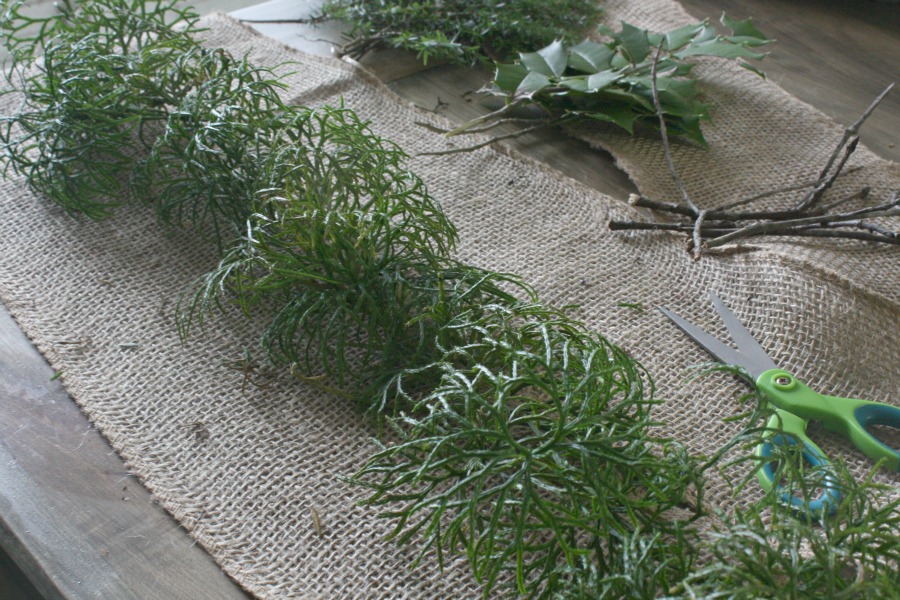
Once inside, organize elements into piles. Organizing your natural supplies into piles will make them easier to find.
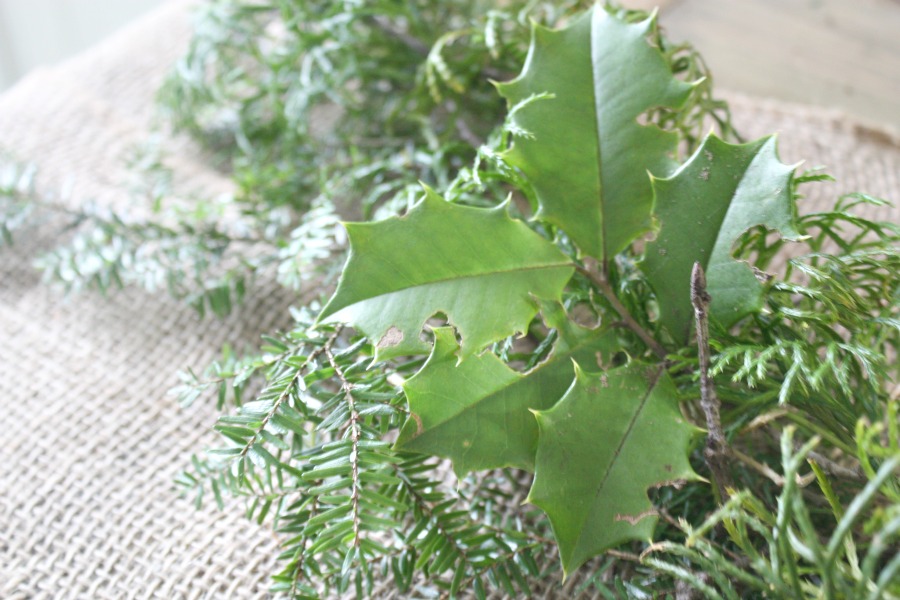
We gathered some small spruce clippings and holly branches, some branched twigs with bits of moss grown on them, and some tiny plant that I have no clue as to what it is. Maybe it’s from the spruce or pine family?
Steps 3:
Before you get started assembling your garland, you’ll need to measure how long it needs to be and tack on a bit more length just to play it safe. The shelf on my door is 28 inches so I decided to make my garland 32 inches total so it would hang over a bit. This measurement will need to be divided into two as you’ll be making two parts of the garland and tieing them together. My garland will be 16 inches for each piece.
Step 4:
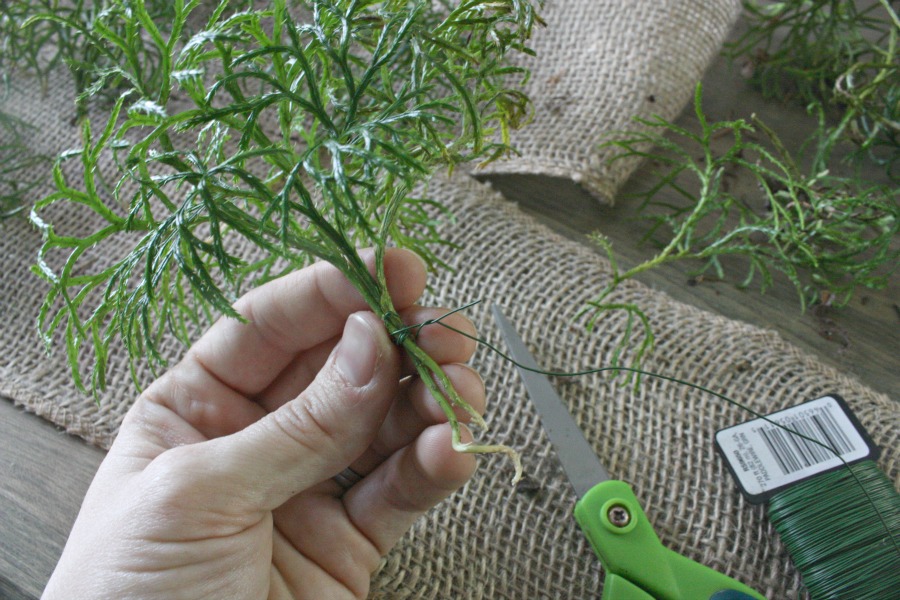
Now it’s time to start putting all of your elements together. Start by gathering your base material into small bunches and binding them together using floral wire. My advice with this part is to make your bunches thicker than you’d think they should be. I didn’t do this, and my garland didn’t turn out as nice as it could have because of that.
Step 5:
Once all your bundles are ready, you’ll start layering them one over the other to create the two parts of the garland you’ll need. You’ll use more floral wire to tie the bundles together, making them to length. Mine will be 16 inches for each part.
Steps 6:
When you have all your bundles tied together and you have your two parts, you’ll need to tie the ends (the stem side of the bundles) together doing your best to hide the stems and wire. I just overlapped mine, hiding the stems and wire in the bulk of the opposite part. Your whole garland should measure the full length you needed at this point. Mine was a bit short (around 31 inches) which was no problem since I added more than enough to the length before I started.
Step 7:
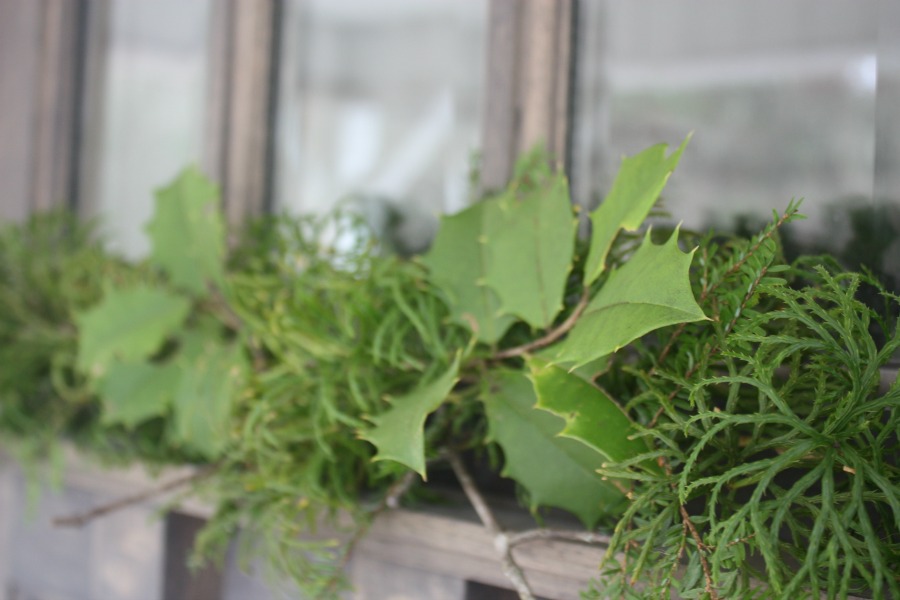
Now that the garland is together, now it’s time to fill it in with the other natural elements you found. I added in two sprigs of holly, some small spruce clippings, and some twigs to keep mine all green and simple, but you can add in pinecones, berry branches, leaves, moss, or any other sorts of things you found. Simply fit these into your garland where you want them and use your floral tie to secure them in place.
Once you’re all finished, place your garland wherever you want it and enjoy its beauty! I know we did!
Have you ever made anything from supplies you’ve gathered from the outdoors? If so, what was it! I’d love to have some more DIY natural decor ideas for my home.
I love this- it’s just my style! I’ve gathered leaves and berries for fireplace decor before. We had fun doing it!
That sounds pretty. I can’t wait to try making other things as the seasons come along.
[…] you’re referring to), people made decorations out of everyday materials. Live garland (here and here too!) made of conifers, ferns, berries, sticks, and pine cones were hung over […]