


In my opinion, there’s nothing that says summer more than filling the house with fresh flowers.
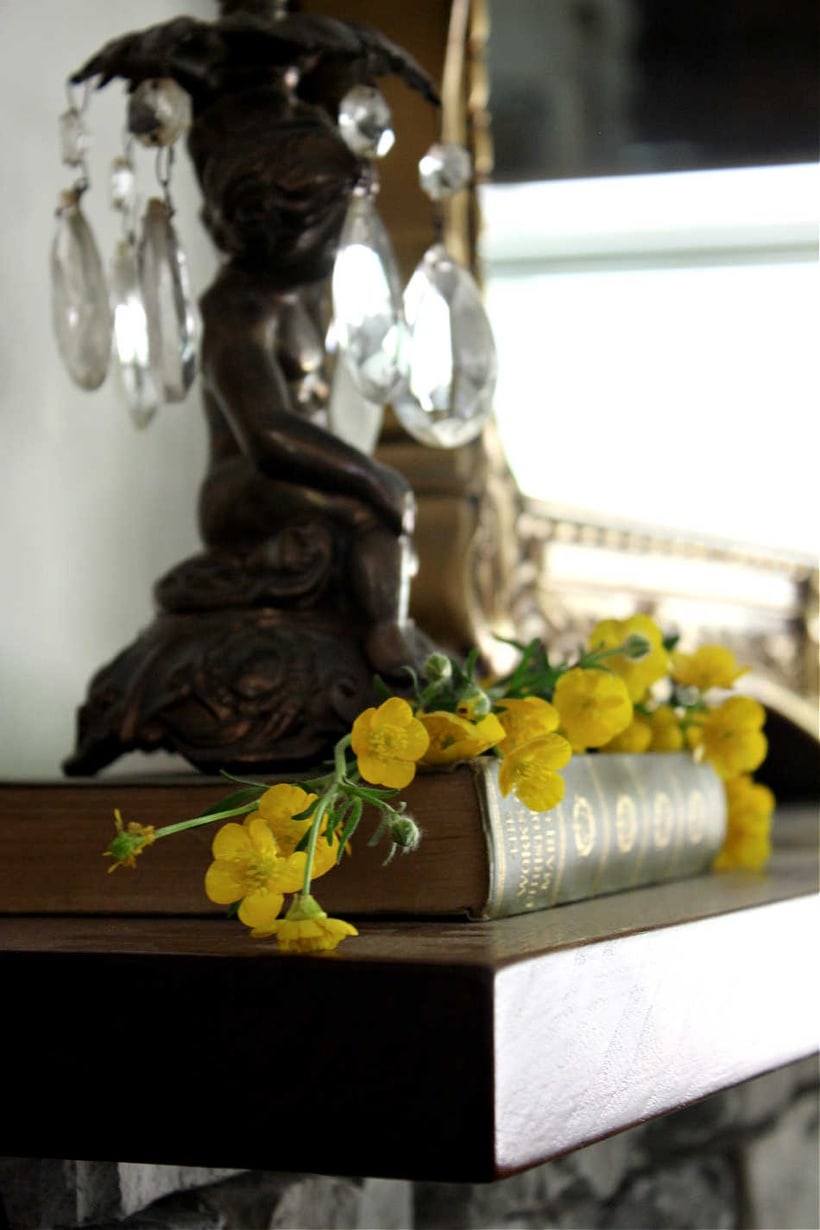
I love adding them to my kitchen and bathroom counters. I place them on tables and shelves, as well as window seals and our fireplace mantle.
While it’s unfortunate that fresh flowers fade, I’m thankful that there are plenty more flowers available that can replace them. These flowers can be grown in your garden, harvested from a nearby meadow, or purchased at the local farmer’s market.
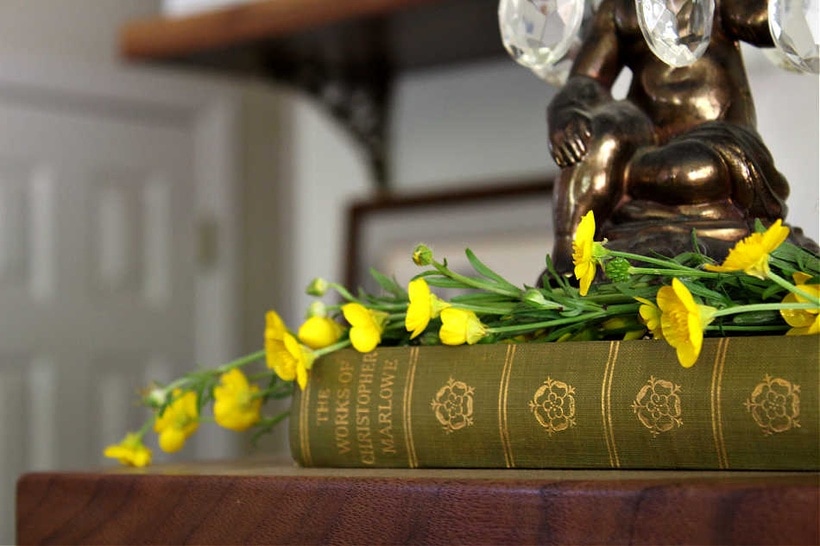
Today, I’d like to share one of my favorite ways to incorporate fresh flowers into my home during the summer months — making a fresh flower garland!

I love to make fresh flower garlands from the wildflowers that grow near my home. I often use them to add little touches to my house when we have friends over for dinner. They’re very versatile, and you can make them as simple or elaborate as you’d like.
Here’s the deal, though. These fresh flower garlands will most certainly wilt, but they won’t go to waste. Because the garland is not exposed to any water, it will dry like bundles of herbs strung across your kitchen rafters. This dried flower garland should retain its color and can remain in your home, adding natural beauty to your space for months to come.
Below I will walk you through the easiest way I know to make a fresh flower garland using one of my favorite meadow flowers — buttercups!
DIY Fresh Flower Garland
You will need:
- Fresh flowers
- Hot glue gun
- Glue sticks
- Ribbon or twine (optional)
- Floral wire (optional)
Directions:
- Begin by harvesting or purchasing flowers you want to use in your garland. The more flowers you have, the longer the garland will be. You can make your fresh flower garland all from one flower, as I have in this example, or you can use 3-5 different types of flowers. If you choose to use more than one flower, just make sure you have one primary flower and one accent flower.
- Heat your glue gun and prepare your work surface with something to protect it from hot glue.
- When the glue gun is hot, gather a small bunch of your primary type of flower and use the glue gun to glue them together. Repeat this process until you have several small bundles glued up securely. You only need a small dot of glue to secure one stem to the next.
- When you have several small bundles finished, take one bundle of flowers and place it on top of another bundle of flowers, making sure it sites a little further down the stem of the first bundle. Glue these together. Repeat this process until you’ve used up all your small bundles.
- At this point, you’ll want to take some extra flowers and fill in any spaces that look sparse. If I’m using one type of flower in my garland, I like to add some longer stems, allowing them to spill out of the central garland and give it some visual interest. If I’m using multiple types of flowers, I’ll fill in empty spaces with filler flowers, leaving my accent flower for the very end.
- Continue to repeat steps 3-5 until your fresh flower garland has reached the length you desire.
- At this point, you have a few options to tighten the entire garland up a bit and make it feel more secure. If the garland is thin, you can gently flip it over and glue the ends of each bundle down a bit more so they don’t stick out. If the garland is thicker and it needs more structure, you can gently flip it over and glue a line or two of floral wire to the back.
- Once you have finished your fresh flower garland, you can add any finishing touches to it to make it look how you wish. Glue in your accent flowers at this point, tuck in some baby’s breath, weave in some ribbon, or even wrap parts of it with twine. There are endless options!
- Lastly, hang your garland where you wish and leave it alone. It will wilt and eventually dry where it sits.
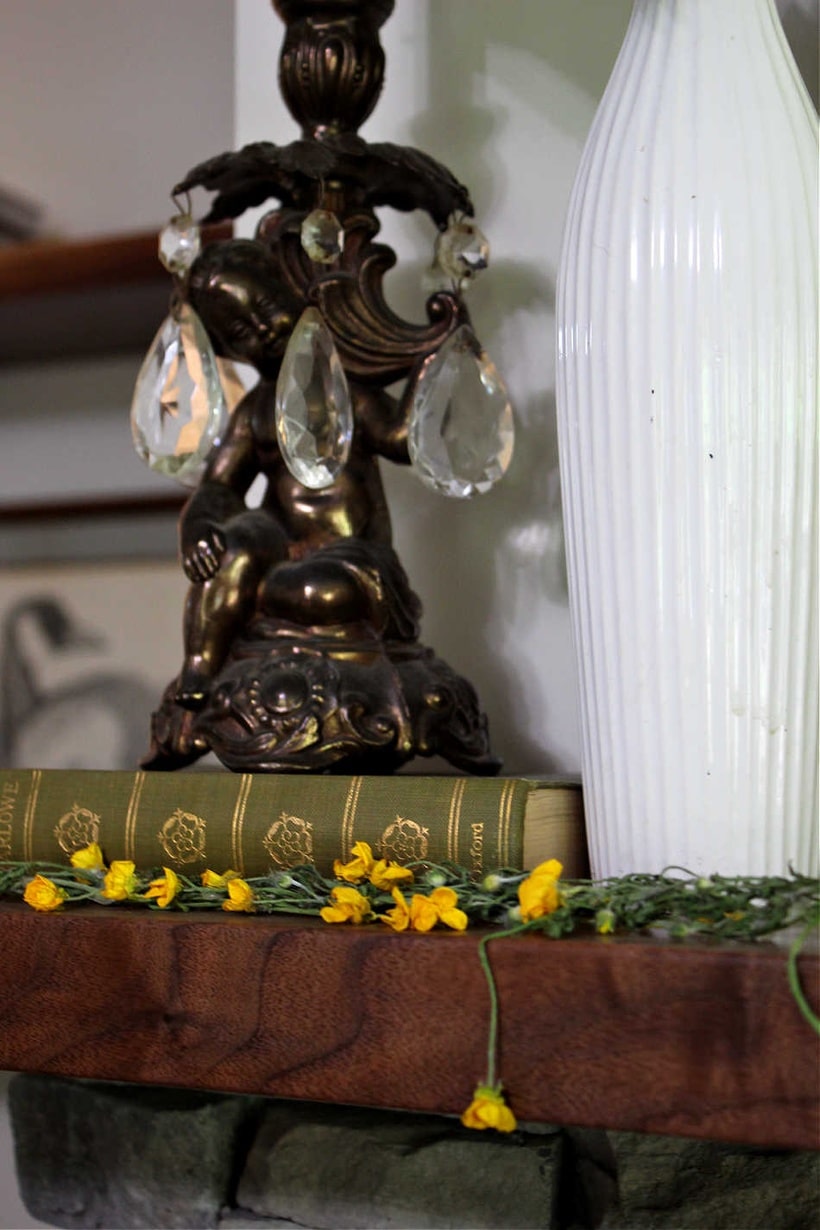
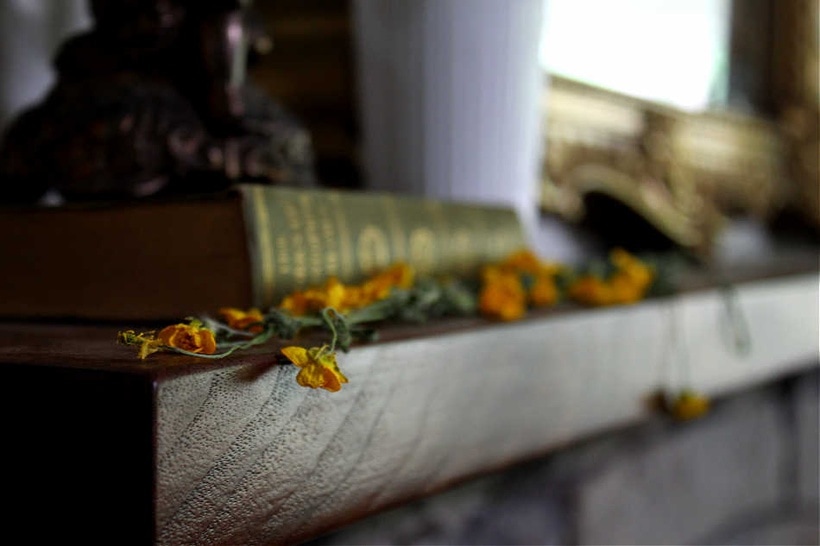
Once you have made your fresh flower garland, it will remain fresh for about an hour or so, and then it will begin to wilt and droop. This will allow your garland to take the shape of whatever you have it draped across. After a day or two, the flowers will fully dry (this time frame varies depending on the thickness of the flower and the airflow and temperature in your home) and be crunchy to the touch.
Depending on how much time you have and the type of flowers you’re using, you can make the fresh flower garland right before guests come over so they can enjoy the fresh blossoms, or you can make it a few days in advance so that it is nice and dry by the time they get there. It’s up to you!
Making a fresh flower garland is a fun, creative project that you can do alone, with friends, or with your kids. It’s a great way to embrace the season of summer with all its beauty and energy, and it’s a great way to bring a bit of nature into your home.
I hope y’all enjoyed this little tutorial, and if you make a fresh flower garland of your own, I’d love it if you tagged me in your photos on Instagram!
Love and light,
Meagan